The idea holed up in my brain and would not let go. For whatever reason, I had to try it. Below is the result of about a week off-and-on
configuring this setup and aggressively documenting everything in my personal vimwiki. Please enjoy my retelling of my introduction
to the world of eGPUs on Linux.
For a while now, I’ve been running a Thinkpad X1 Carbon (5th gen) at work, with a docking Thunderbolt setup. It’s really amazing being able to just unplug one cable and move to meetings and back, and hotplug back in to use a full keyboard & mouse.
I have a perfectly fine desktop setup, too - a nice i7, a GTX 1080, all watercooled even, but I’ve always wanted to ditch Windows for one reason or another.
My hesitation to move to Linux was mostly fear of fragmentation. My dotfiles spread out across multiple systems (yes, I know about
the billion dotfiles managers, I just installed yadm, don’t worry)
struck fear into me and doused my confidence. But the solution presented itself - one machine, both desktop and laptop, both
productivity and gaming. No dual boots. No compromises. No Windows.
Did I get that? Mostly. Let’s begin.
Planning
Choosing the Laptop
Out of all the eGPU builds on eGPU.io, only eleven (11) are Linux builds! Of those, none were done with any Razer model. From the beginning, I felt pretty uneasy about treading into uncharted territory.
But! I took a look at eGPU.io’s list of laptops for eGPUs for anything that might catch my eye.
The obvious standouts to me (paying special attention to the CPUs) were the:
- Dell XPS 13 9370 (i7-8550U @ 1.8 Ghz w/ 4.0 Ghz Turbo)
- I actually own an XPS 13 9350! It’s an incredibly solid machine and I am constantly impressed with how well it’s held up.
- Lenovo X1 Carbon (6th gen) (i7-8650U @ 1.9 Ghz w/ 4.2 Ghz Turbo)
- Basically my work laptop. It’s a really great rig and I love the feel of the keyboard on it.
- Razer Blade Stealth 2018 (i7-8550U @ 1.8 Ghz w/ 4.0 Ghz Turbo)
- I’ve never owned a Blade before (though I did own an Edge for like 3 days before I sent it back - not worth it) but man does this thing look sleek. さすが Razer.
As I was debating, and seeing if I could drop the touch support and QHD (I’m really blind) Razer dropped their newest revision of the Stealth with:
- An i7-8565U @ 1.8 Ghz w/ 4.6 Ghz (wow) Turbo
- A 1080p matte (!) version with a 4GB VRAM Geforce MX150 (!!)
- 16GB RAM
- 256GB NVME SSD
- And of course, one Thunderbolt 3 and one USB-C port.
I felt like it checked all the boxes, and after debating for a while, I snagged one. Again, uncharted waters at this point, but hey, I’ve installed Arch before - what could go wrong?
Oh boy.
Choosing the eGPU enclosure
My current rig has a watercooled GTX 1080 Seahawk in it - which means if I want to reuse the GPU I’ve got to find an enclosure that fits the radiator and fan. eGPU.io (a great resource, as you can see) has an amazing comparison chart where (I think) every current enclosure at the time of this writing is present.
Of all of these, I would have preferred to get the Razer Core V2 - there’s a reason Razer markets it for use with the Stealth -
- It provides 100W, exceeding the 65W PD requirement
- It has USB & Ethernet ports, removing the need for multiple hubs and cables
Unfortunately, my existing GPU would definitely not fit inside, and it turns out it wouldn’t really fit inside anything else, either. Which narrows me down to just one option - the AKiTiO Node.
The Node provides a paltry 15W, and actually mentions on their site: “Please note that the Razer Blade and the Razer Blade Stealth do not accept power from a 5V/3A source like the AKiTiO Node.”
Well! My dream of one-cabling it was crushed pretty early, then. I debated hard on whether or not I should change my laptop choice, but I still felt like the Stealth 2019 was the only thing that met all my criteria. So I sucked it up and ordered it.
Choosing the Accessories
Now that I had already made one compromise, I needed to at least take advantage of the other USB-C port. So I did some Amazon soul-searching and ended upon the VAVA 8-in-1 USB C Hub. It has a PD port, HDMI, Ethernet, and 3 USB 3.0 ports for $60. Seems good! That’s a keyboard, mouse, and my USB DAC all accounted for.
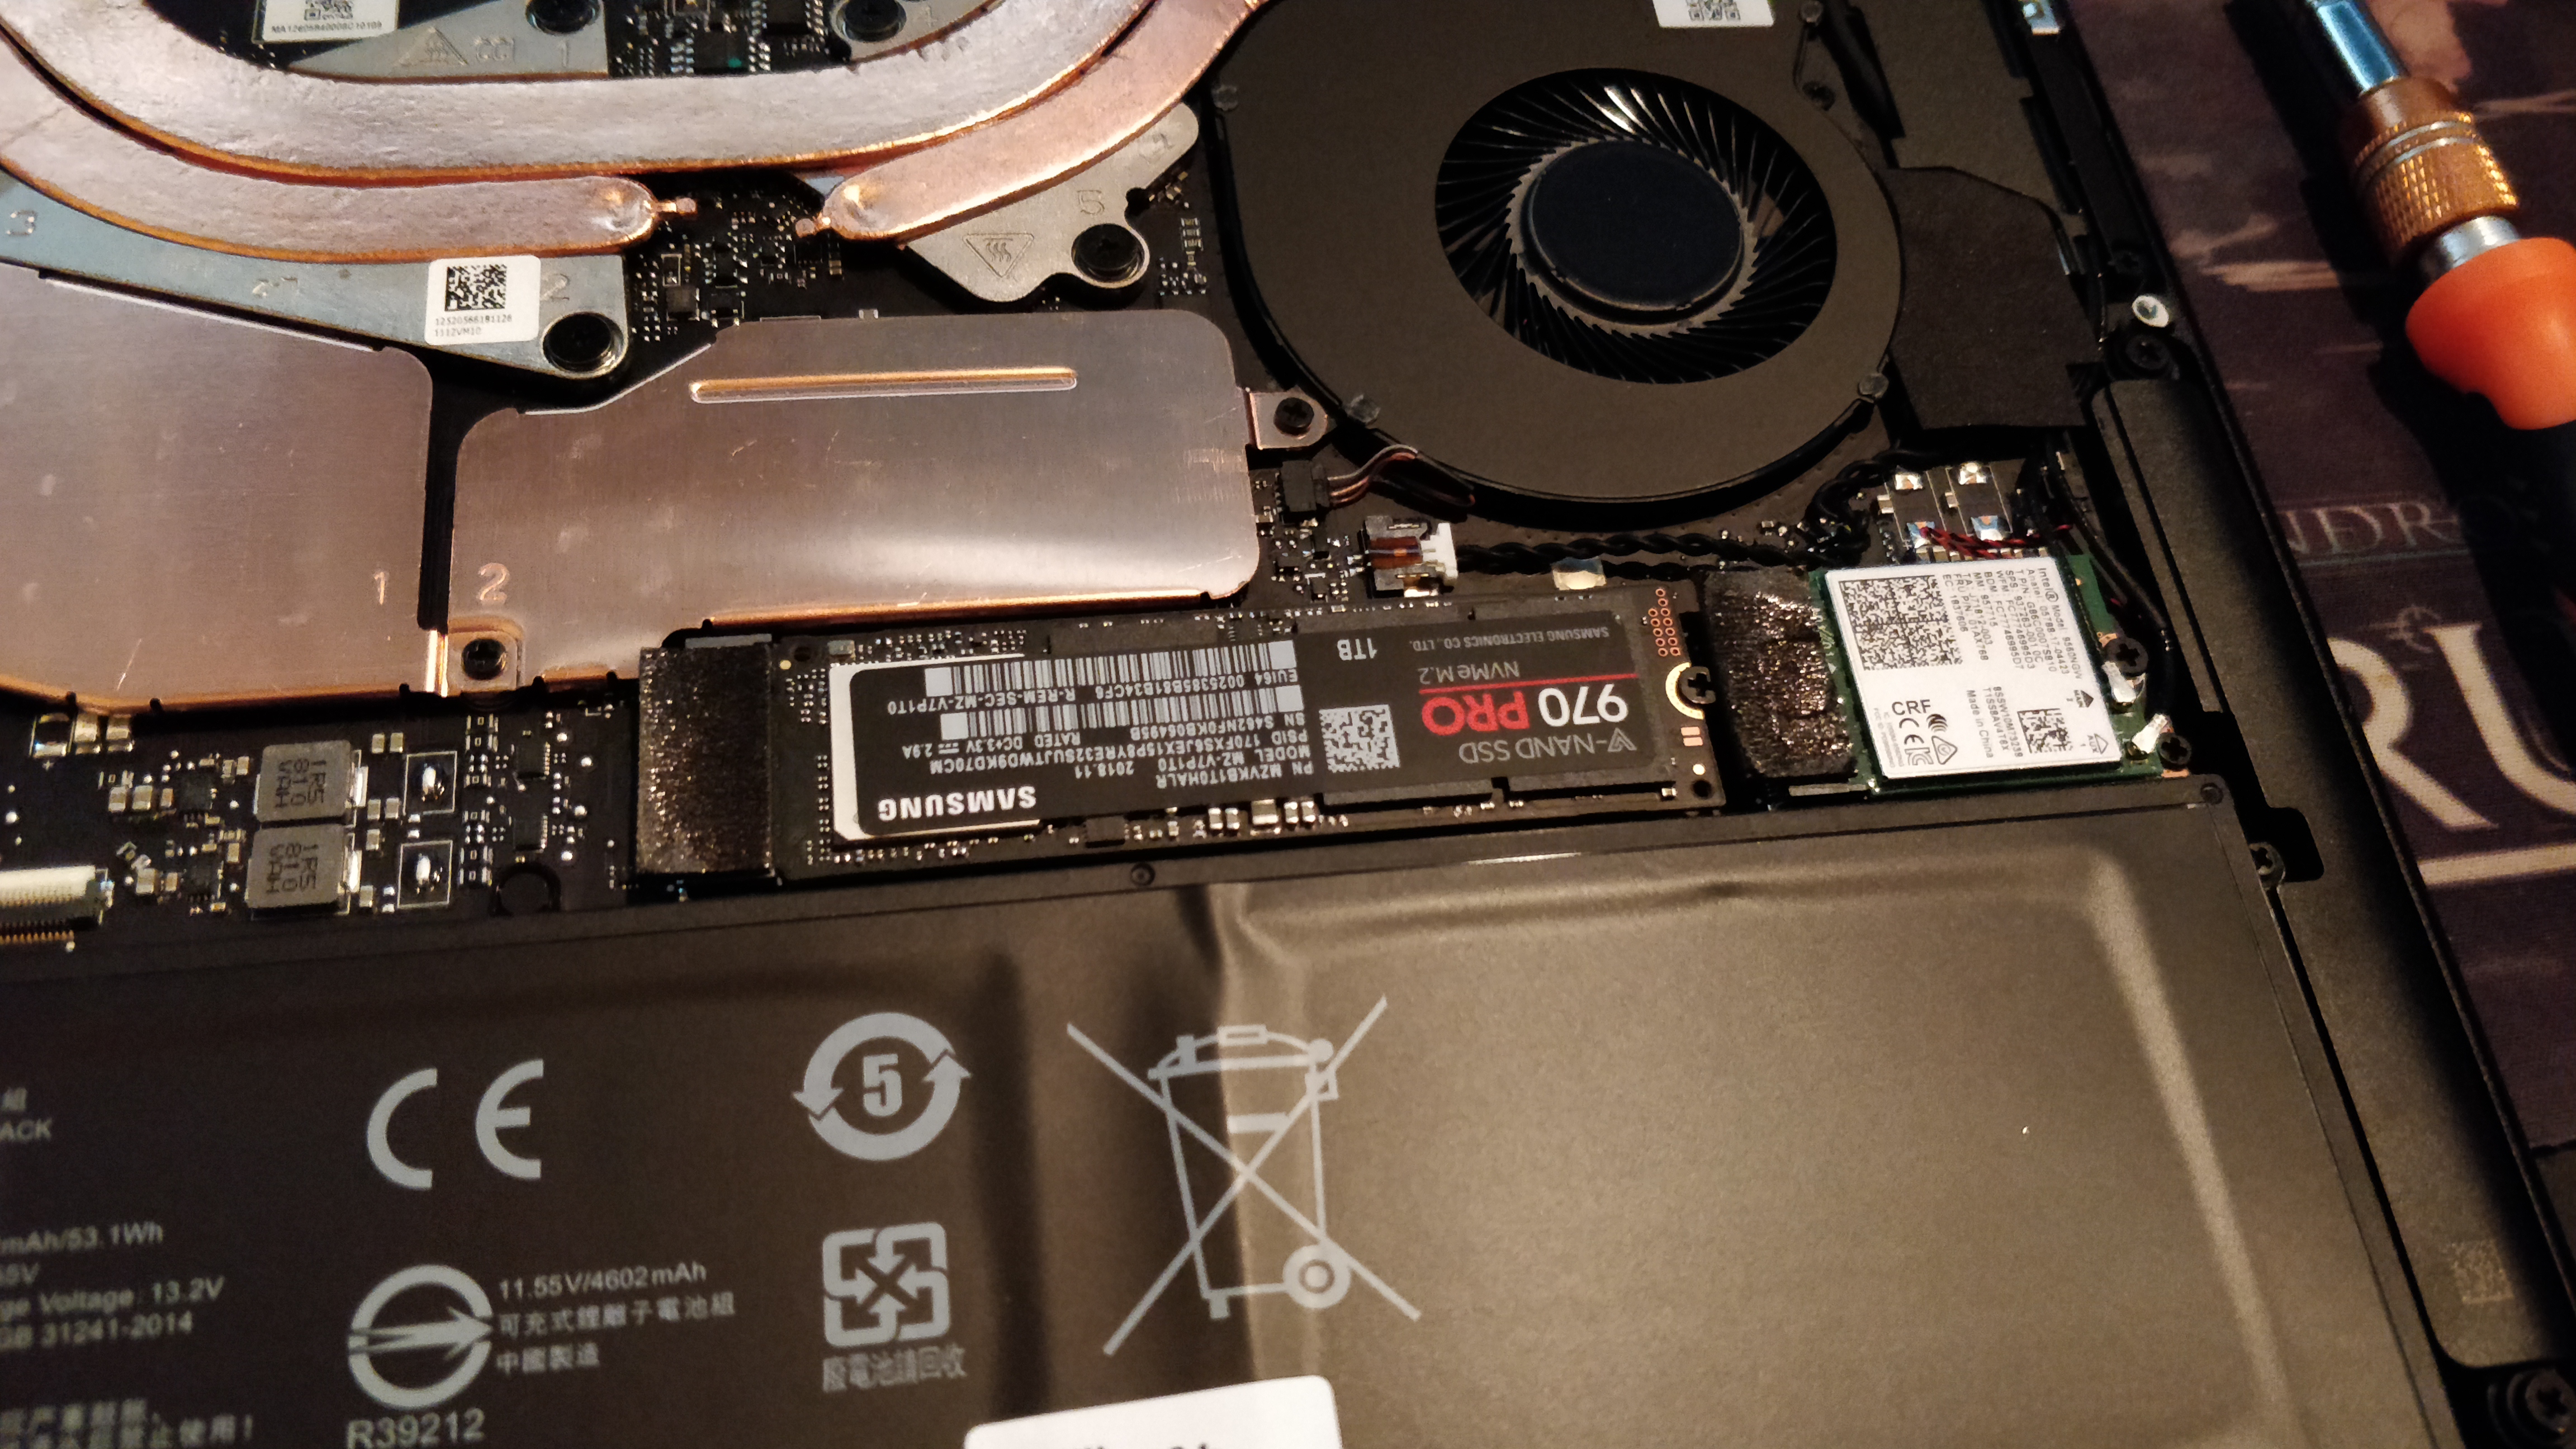
Finally, that 256GB SSD in the dGPU+1080p model wasn’t going to cut it. If this was going to be my daily driver, I needed a hefty amount of storage. My initial search turned up WD’s Black NVMe foray at the time, it was on a hefty sale (somewhere around $150-200 I think), so I considered it before I did some searching and found linux support was rough. Nope! I turned back to my old standby, the Samsung 970 Pro 1TB.
Setup
Impressions
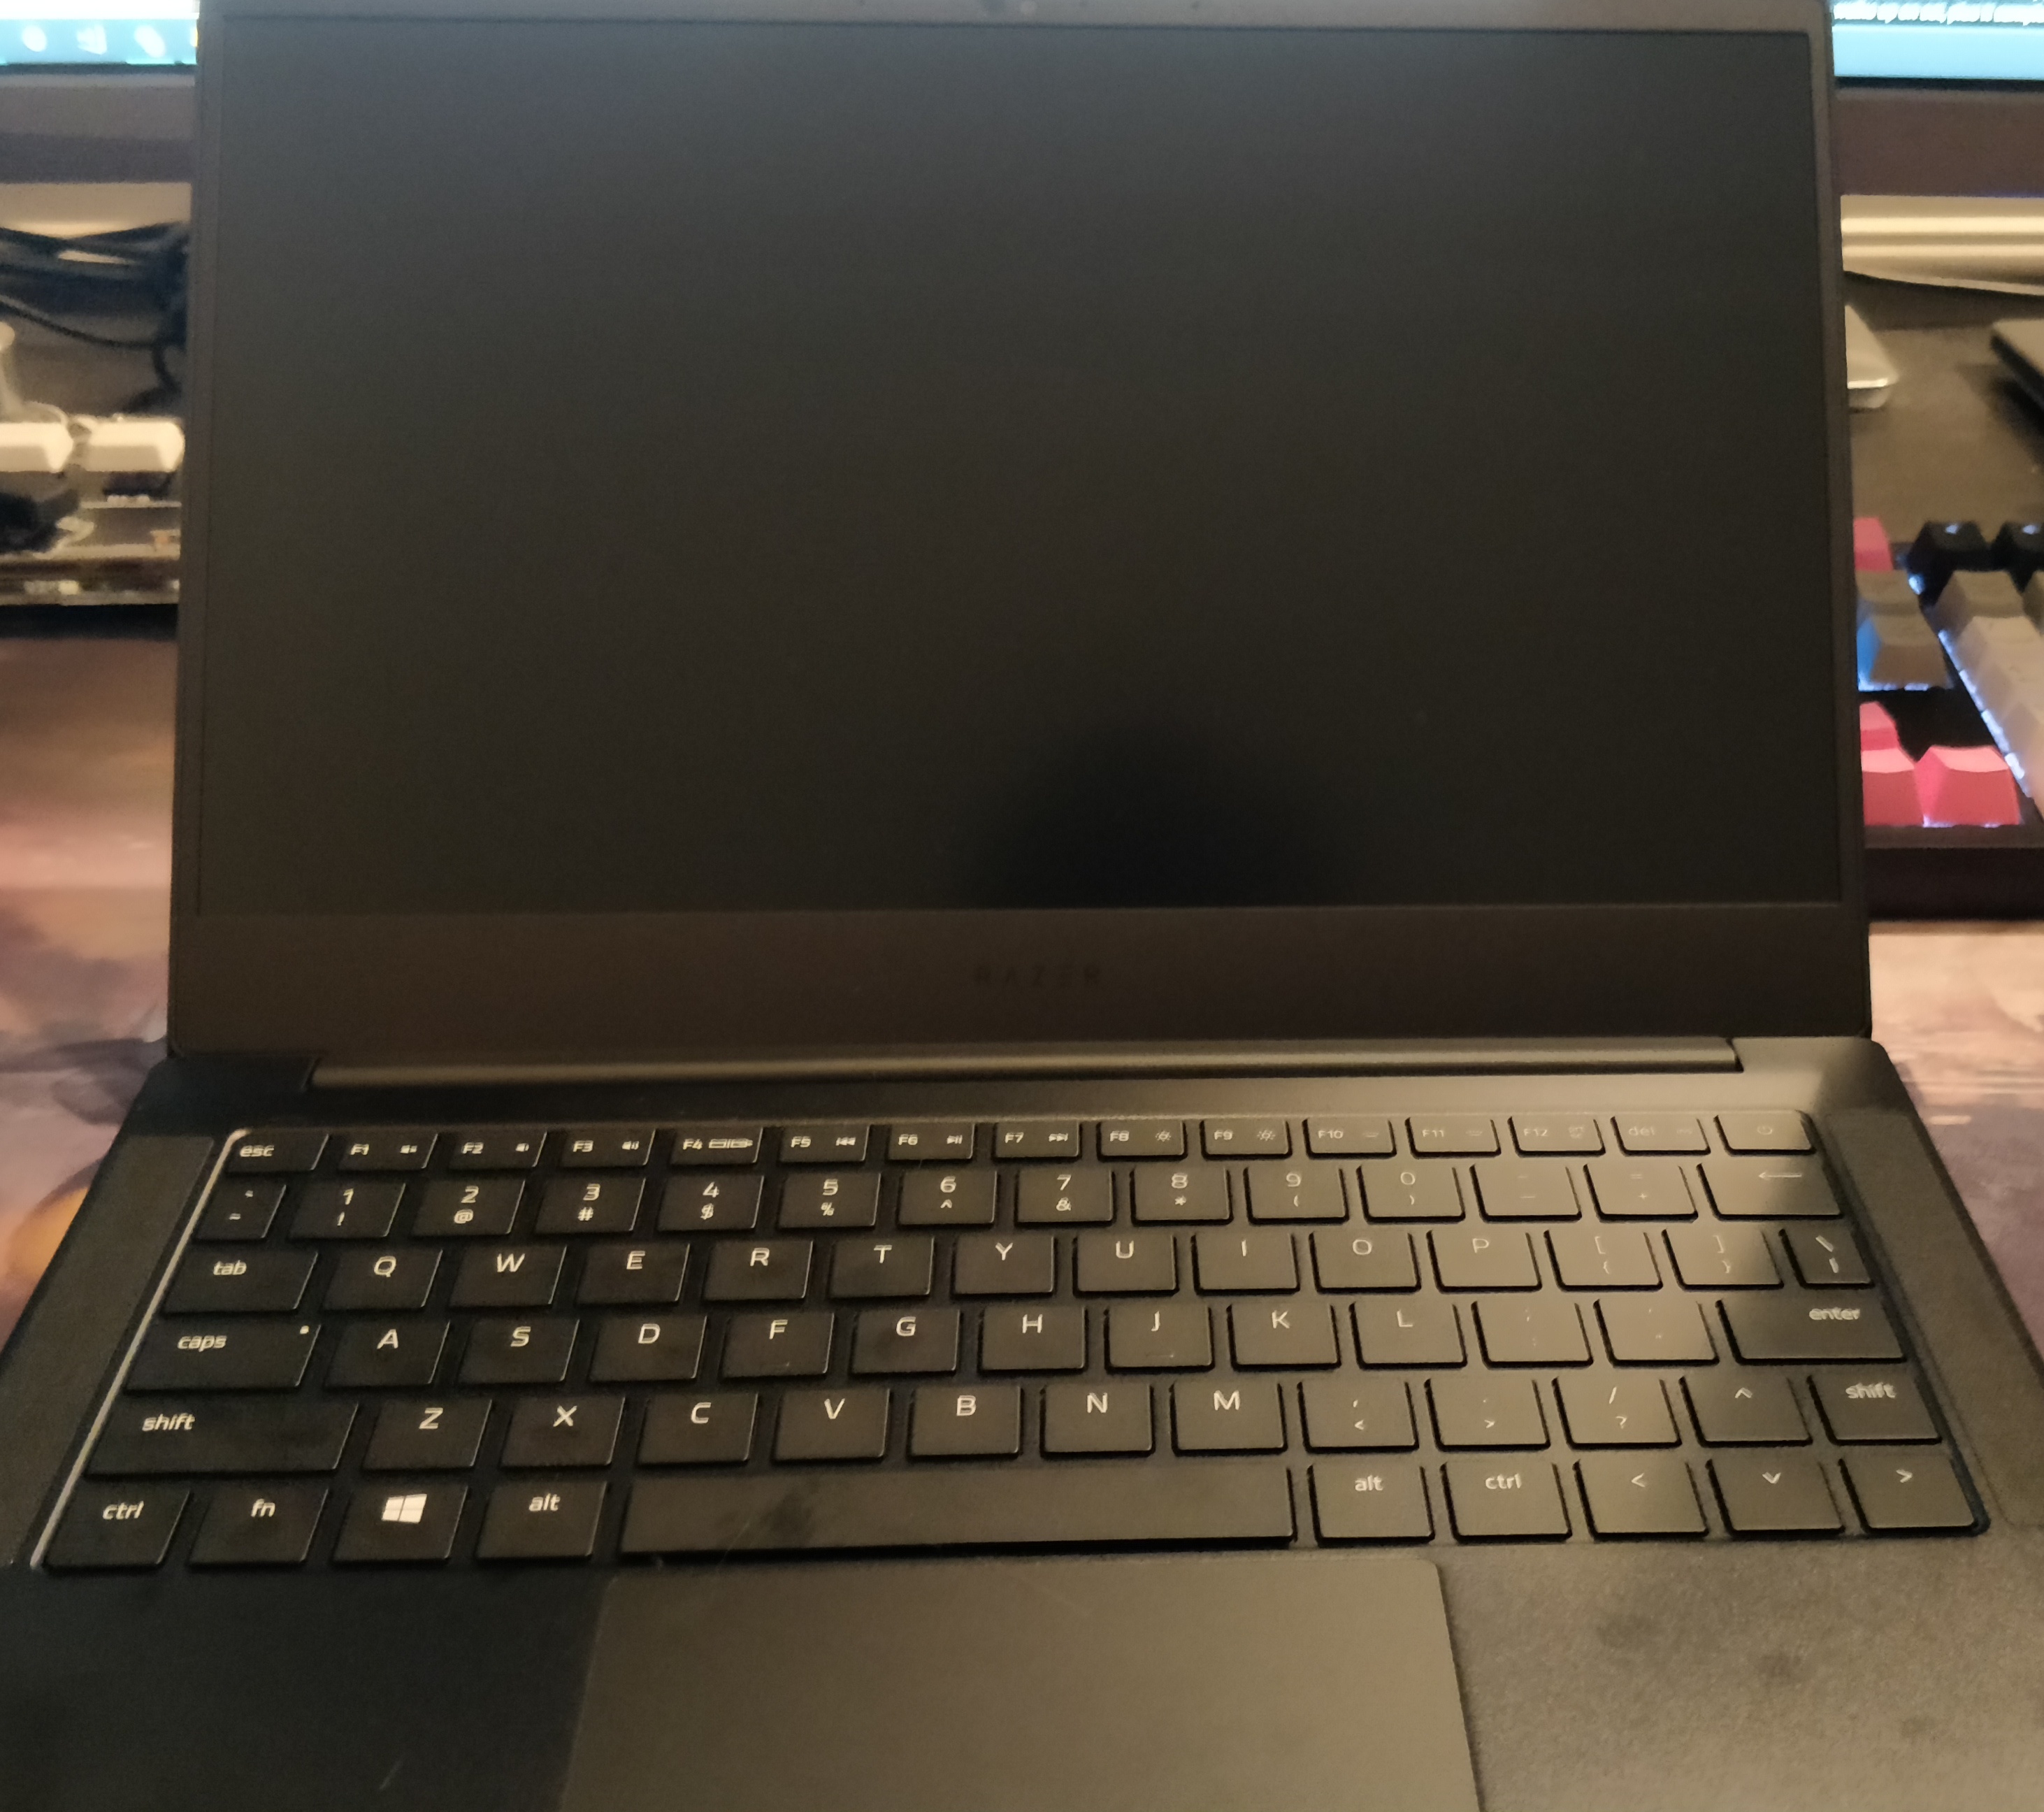
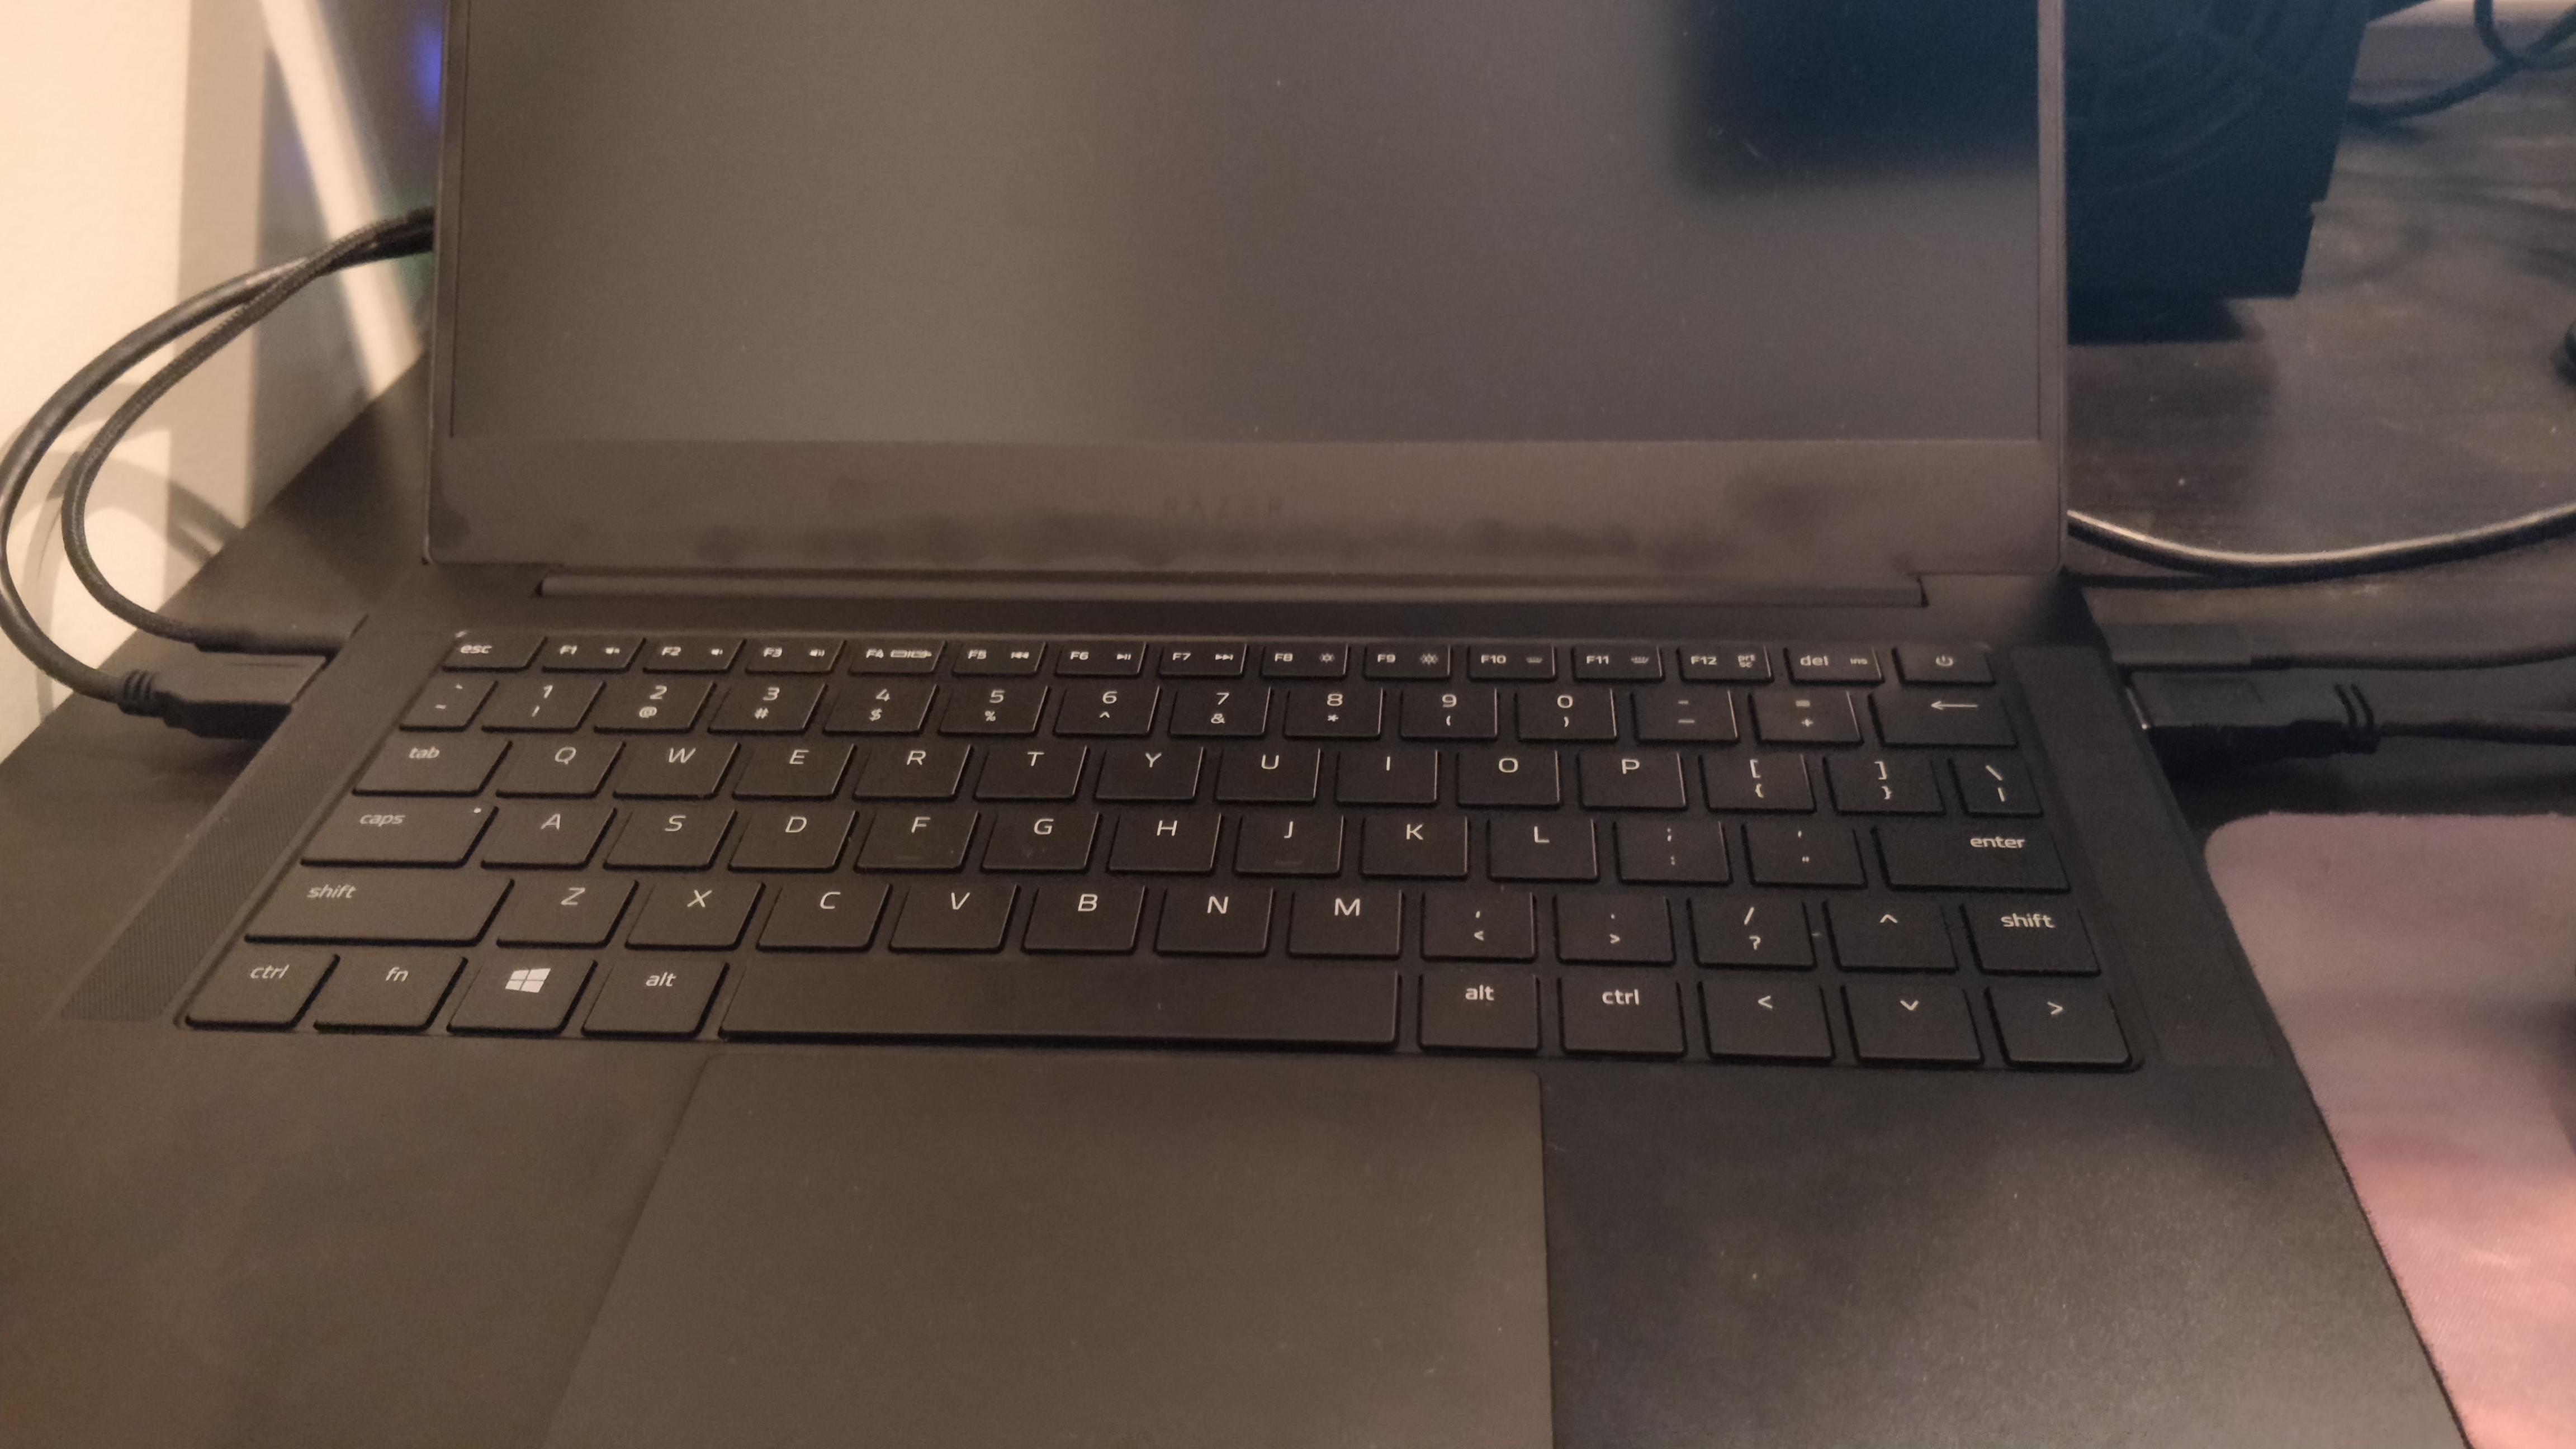
So, the laptop - this thing is very nice looking. Razer did away with the glowing logo and I’m extremely happy about that, and not just because I can’t control it from Linux. It’s super thin and is really cool to use. The keyboard is okay and is probably the worst of the Dell/Lenovo/Razer bunch, but I’ll be using this thing mostly docked. Nice and thin bezels and a properly placed webcam are great additions. It does pick up oil and fingerprints pretty easily, though.
Swapping the SSD & Testing the Hub
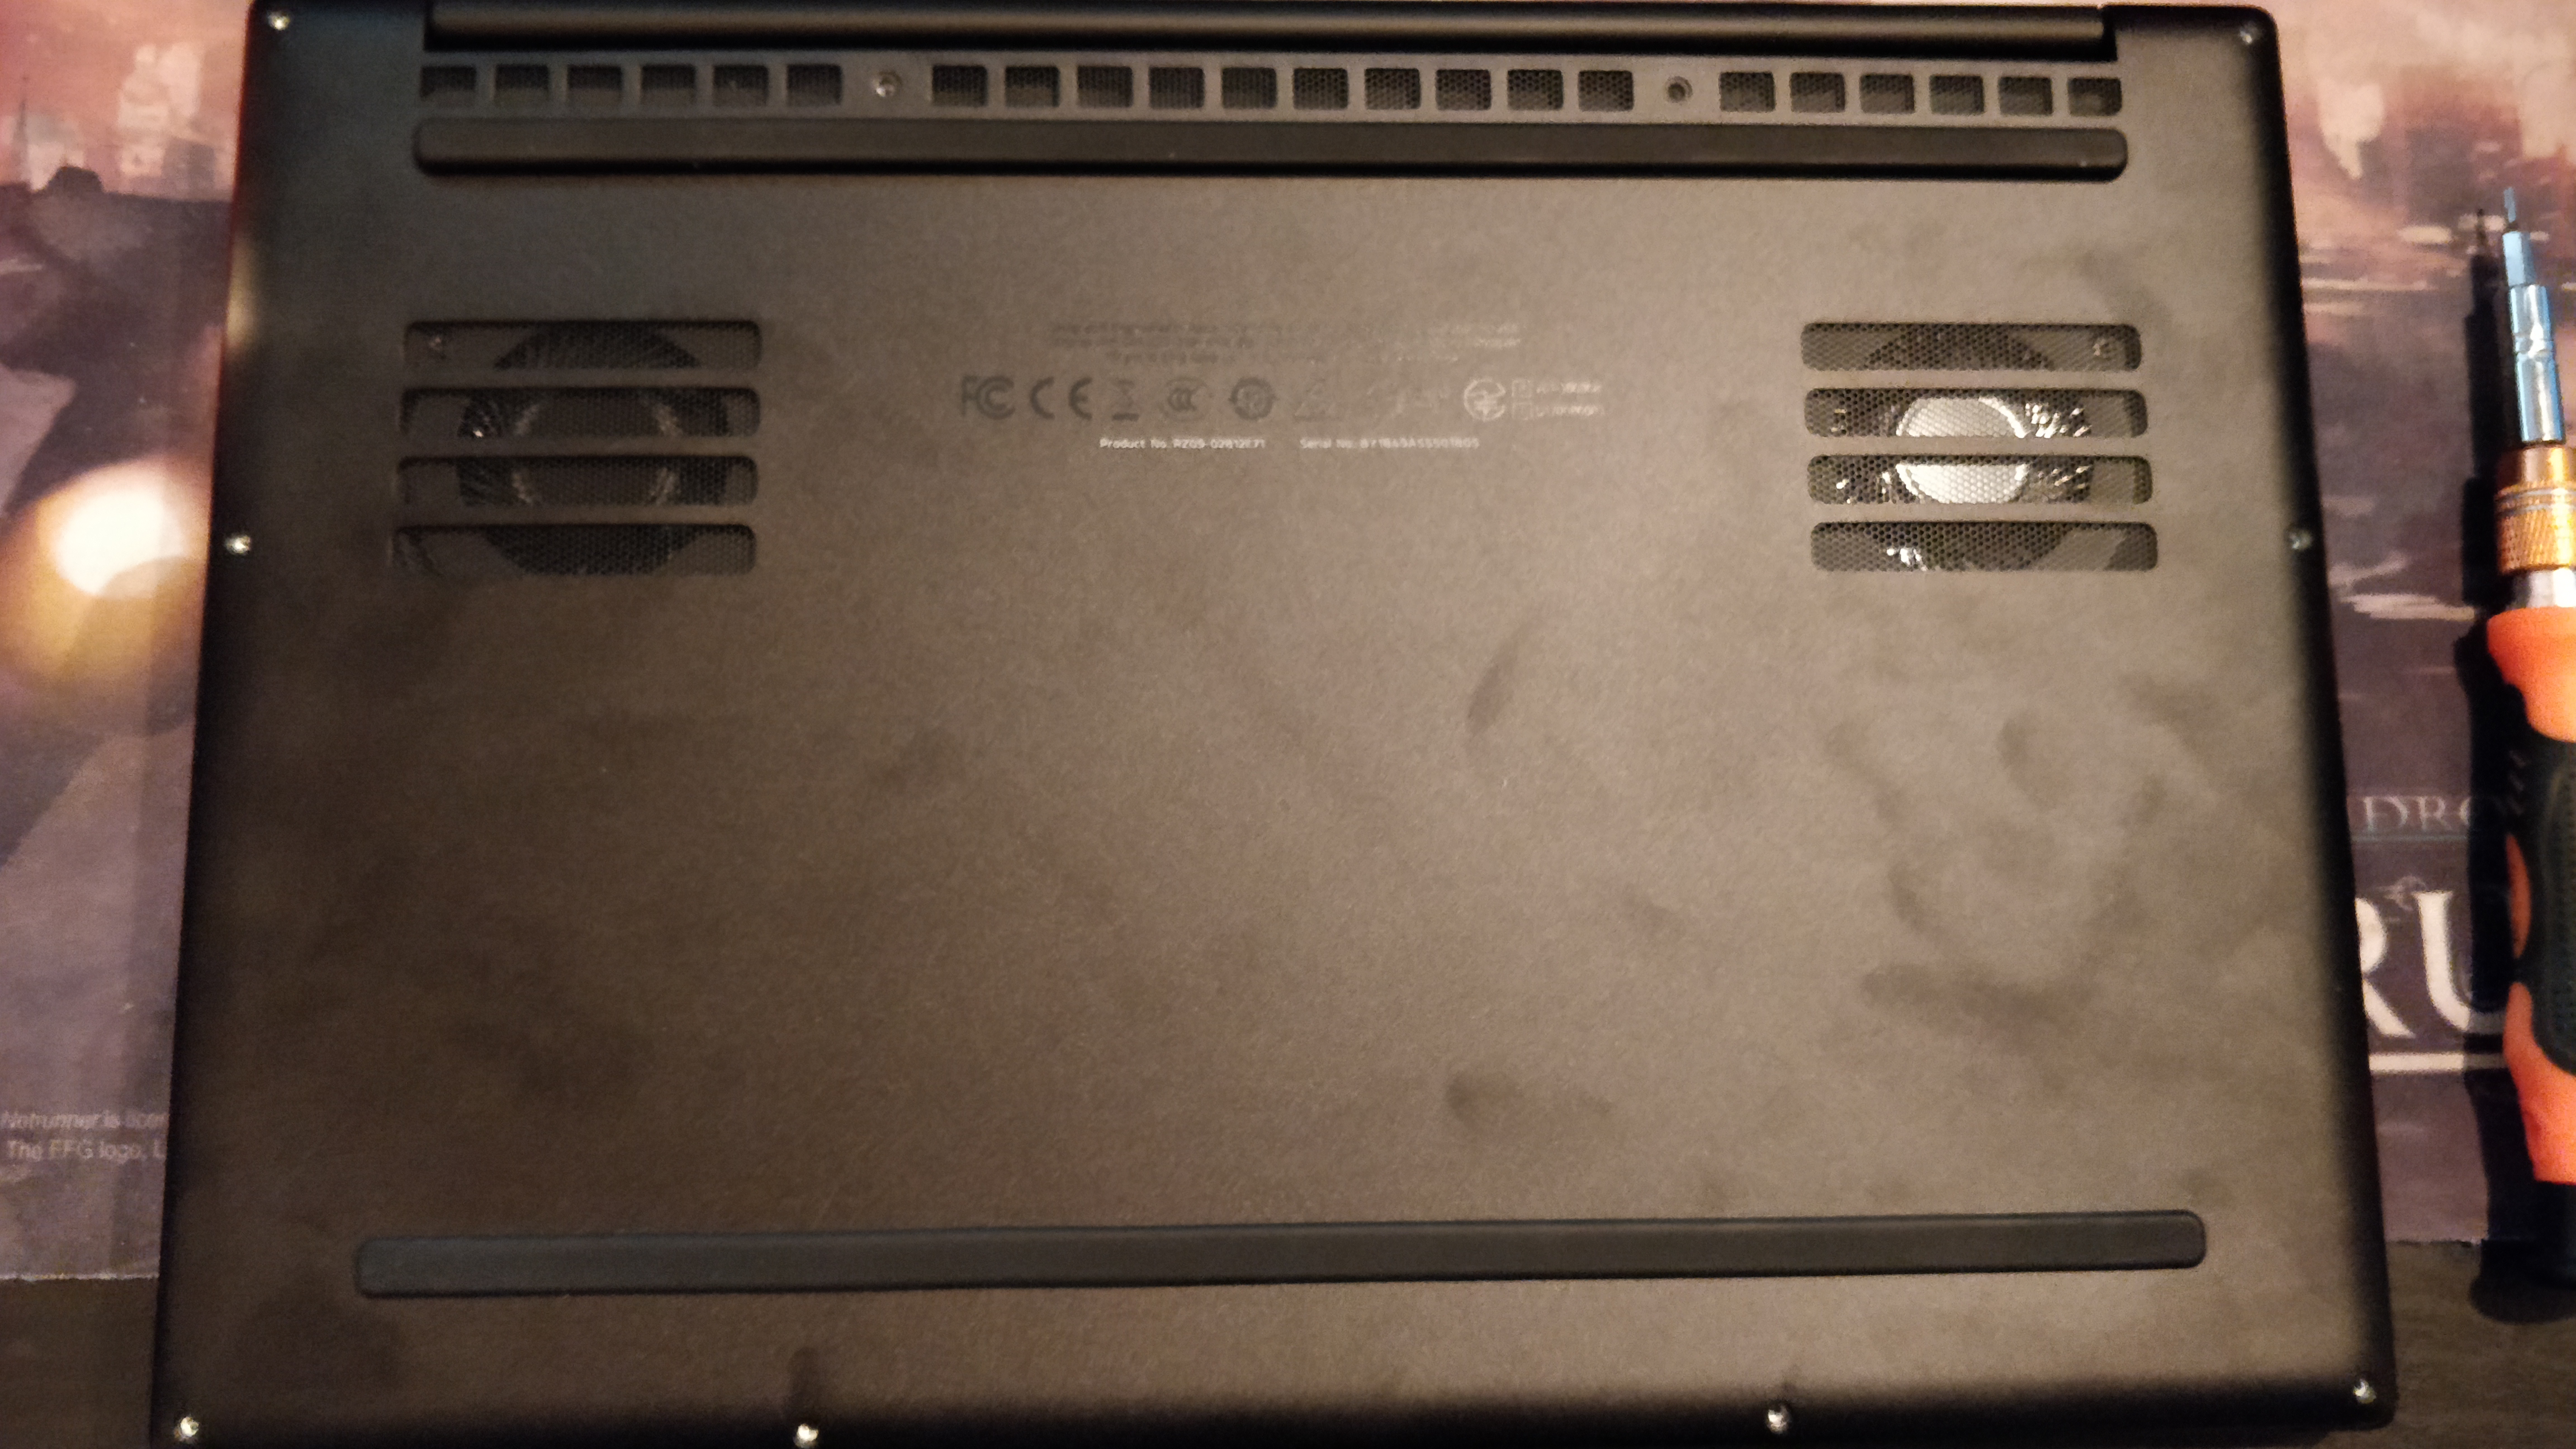
So naturally, I immediately put my warranty into jeopardy by cracking it open.
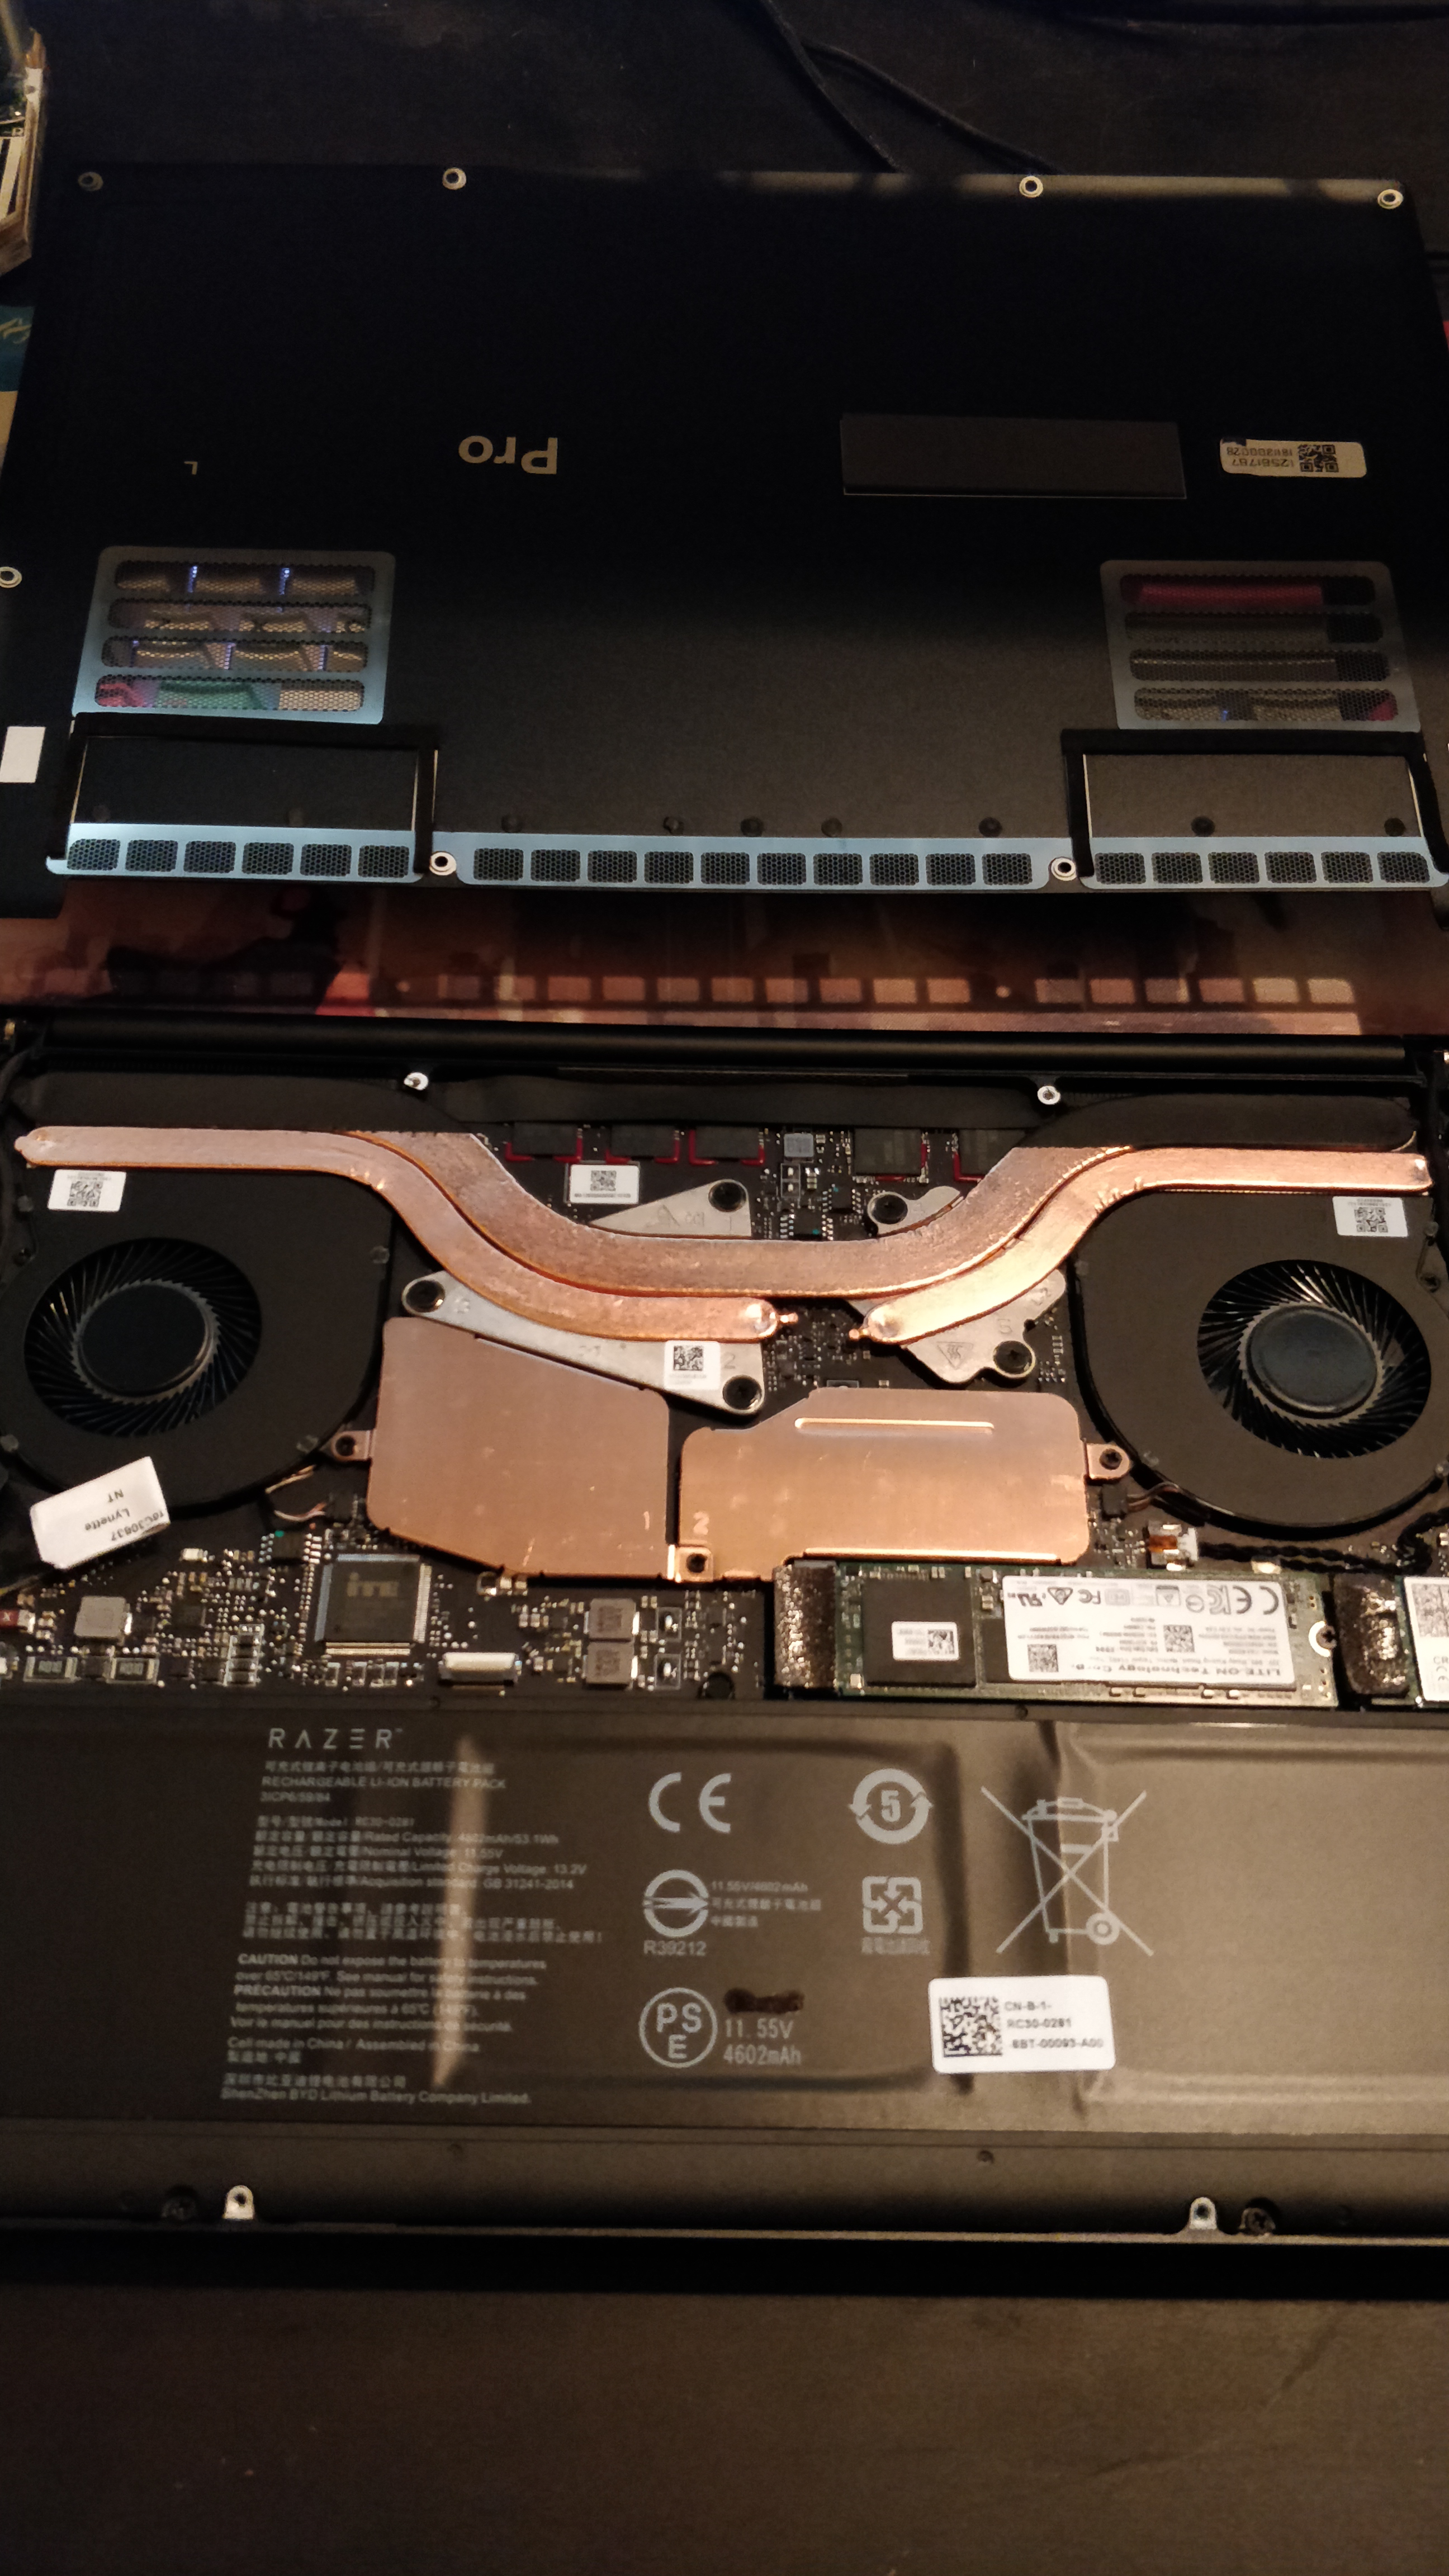
Inside I find a (non-vapor chamber D:) cooling solution, and the NVMe slot right next to the wifi chip. Easy replace job.
Cover goes back on. Let’s boot into BIOS and check if it’s detected.
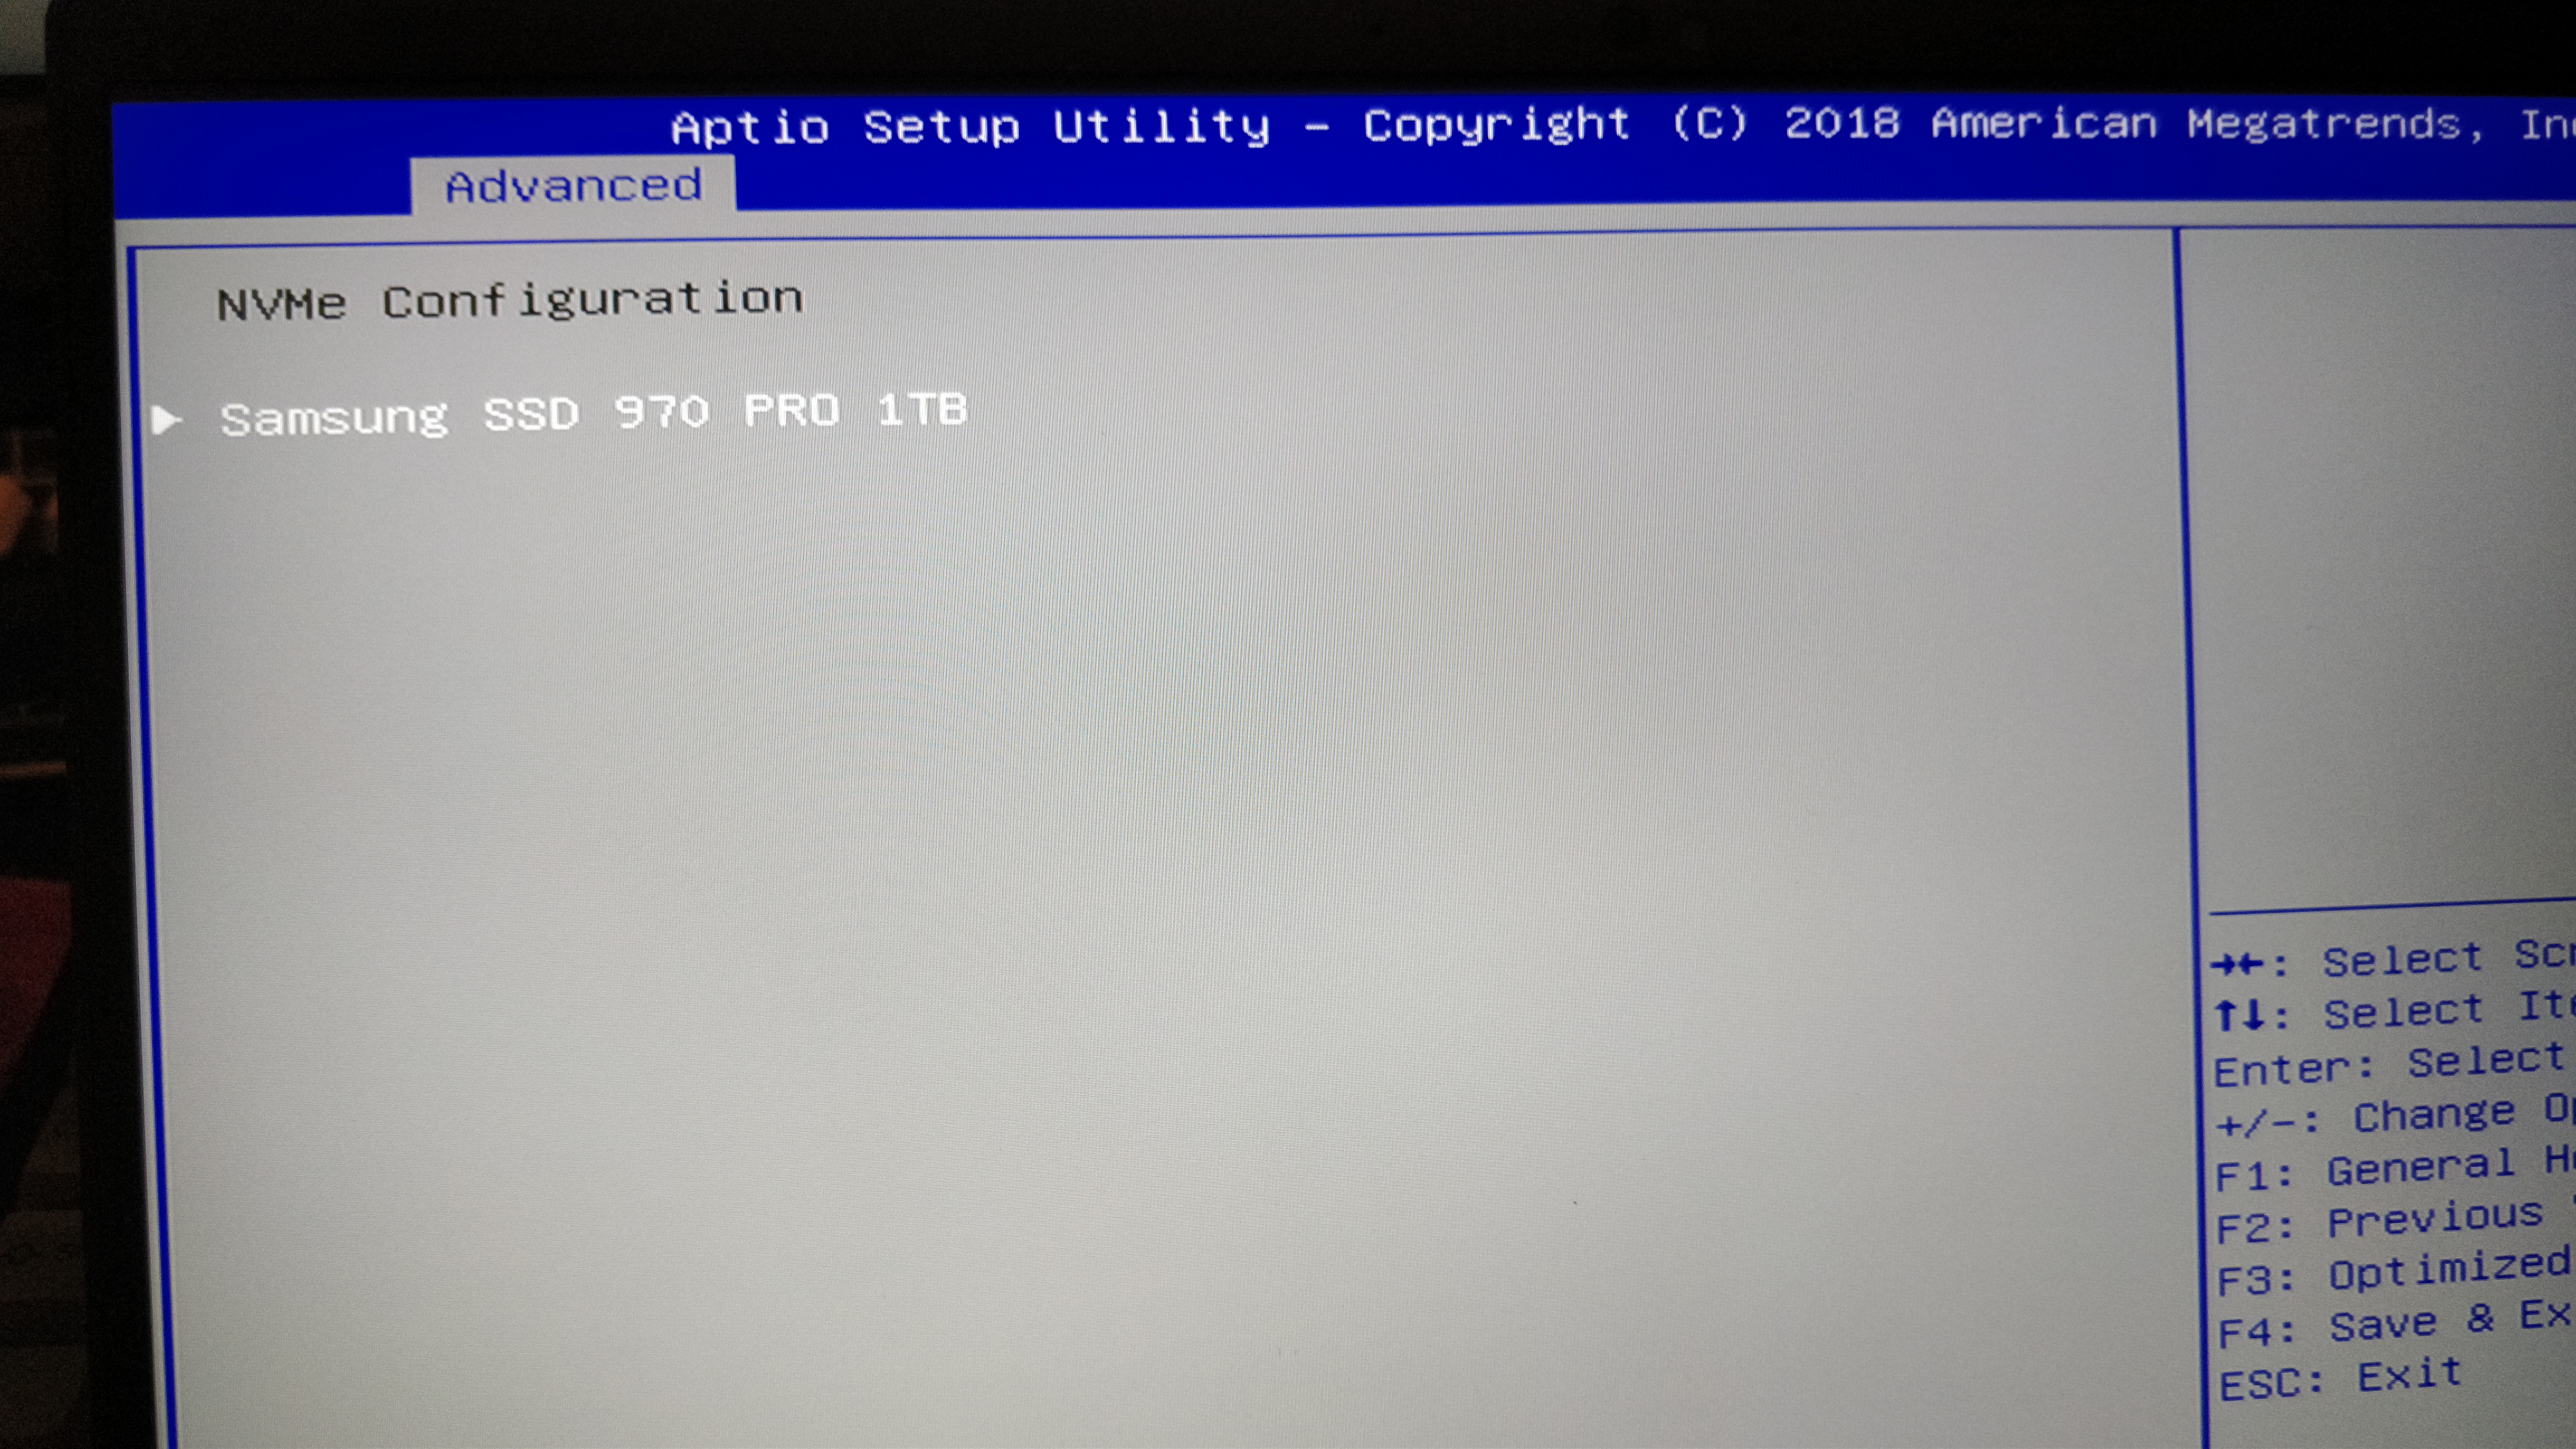
Yep!
Now to plan ahead a bit, I load all my peripherals onto the USB-C hub and plug it in. As I’m getting my desk situated, I notice that moving the laptop slightly is making my keyboard and mouse flicker on and off. Great. A quick search confirms what I feared: the ports were loose for others, too.
Another compromise to be made, I sigh, leave the power adapter in the left port and fill up with 3.0 ports with hubs and an ethernet adapter.
Time to install Arch.
Configuring Arch
As I was configuring Arch, I noticed the system get noticeably hot on the palm rests. It might just be that I’m used to the carbon fiber not conducting heat on the XPS 13, and this thing has an all-aluminum chassis, so of course it’ll get hot. I pacstrap Arch and get a prompt when all is said and done.
Nvidia + KDE = Pain
I chose KDE for my DE. I wanted a good desktop experience with both a keyboard and mouse, so a pure tiling WM was off the table.
I don’t think I was prepared for the pain I was about to inflict on myself when configuring KDE with Nvidia drivers. I’m extremely considering switching DEs as I write this, but KDE just does so much right that it’s hard to.
To get a workable experience, I had to enable triple buffering in /etc/profile.d/kwin.sh:
#!/bin/sh
export KWIN_TRIPLE_BUFFER=1
and enable it in my xorg.conf when using the eGPU:
Option "TripleBuffer" "on"
Option "AllowIndirectGLXProtocol" "off"
Note that I don’t make use of the CompositionPipeline options in xorg/nvidia-settings. This tanks performance in games, as is well documented.
Configure the Kwin Compositor:
I ended up settling on the following.
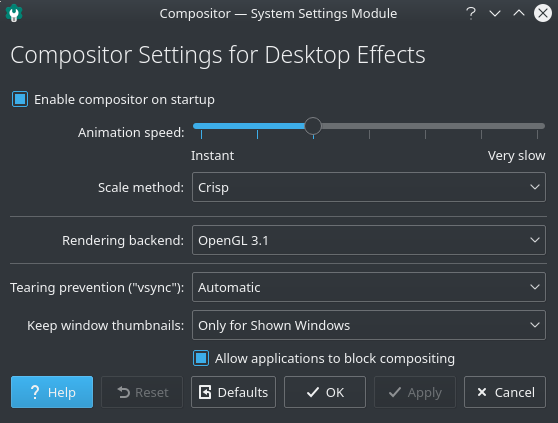
When using desktop effects, I noticed a few things:
- Resizing windows is extremely painful unless I enable fast texture scaling.
- The “snap to edge” window effect also lags like crazy, so I disabled it and just use Mod+L/R to tile windows.
In an attempt to smooth things out, I tried to force the compositor to run at 100 FPS.
In ~/.config/kwinrc:
[Compositing]
MaxFPS=100
RefreshRate=100
Unfortunately, when two monitors are connected & OpenGL enabled, this appears to not work sometimes - the compositor seems to choose the lowest common refresh rate, at least in my testing.
Switching the compositor to XRender makes it CPU-bound but it will then run at 100Hz (and it’s not entirely tear-free either). I left OpenGL on for now.
Advantages
- Two monitors!
- Gaming is surprisingly workable when driving both.
Disadvantages
- As I mentioned, this config makes Kwin run at 60 FPS, which is suboptimal with my 100Hz monitor.
- G-Sync does not work on multi-monitor setups unless both monitors support it. G-Sync needs to be able to “flip” the entire X screen, which is impossible if it spans variable refresh rate monitors. My solution to this is below. Read on!
Thermals & Clocking
I mentioned earlier that the laptop felt hot, so I wanted to get some better fan control going. Alright! Let’s install lm_sensors and get going.
[gabe@nadeko ~ ]$ sensors
pch_cannonlake-virtual-0
Adapter: Virtual device
temp1:        +49.0°C

acpitz-acpi-0
Adapter: ACPI interface
temp1:        +27.8°C

iwlwifi-virtual-0
Adapter: Virtual device
temp1:        +40.0°C

coretemp-isa-0000
Adapter: ISA adapter
Package id 0:  +61.0°C  (high = +100.0°C, crit = +100.0°C)
Core 0:        +56.0°C  (high = +100.0°C, crit = +100.0°C)
Core 1:        +60.0°C  (high = +100.0°C, crit = +100.0°C)
Core 2:        +58.0°C  (high = +100.0°C, crit = +100.0°C)
Core 3:        +61.0°C  (high = +100.0°C, crit = +100.0°C)
…oh. That’s… not great.
/usr/bin/pwmconfig: There are no pwm-capable sensor modules installed
Great. Well, how about CPU governors?
[gabe@nadeko ~ ]$ sudo cpupower frequency-info
analyzing CPU 0:
  driver: intel_pstate
  CPUs which run at the same hardware frequency: 0
  CPUs which need to have their frequency coordinated by software: 0
  maximum transition latency:  Cannot determine or is not supported.
  hardware limits: 400 MHz - 4.60 GHz
  available cpufreq governors: performance powersave
  current policy: frequency should be within 400 MHz and 4.60 GHz.
                  The governor "powersave" may decide which speed to use
                  within this range.
  current CPU frequency: Unable to call hardware
  current CPU frequency: 800 MHz (asserted by call to kernel)
  boost state support:
    Supported: yes
    Active: yes
At least we can set those!
Setting up the eGPU
The real reason I got into this was to check out the state of eGPUs on Linux. It’s actually rather painless!
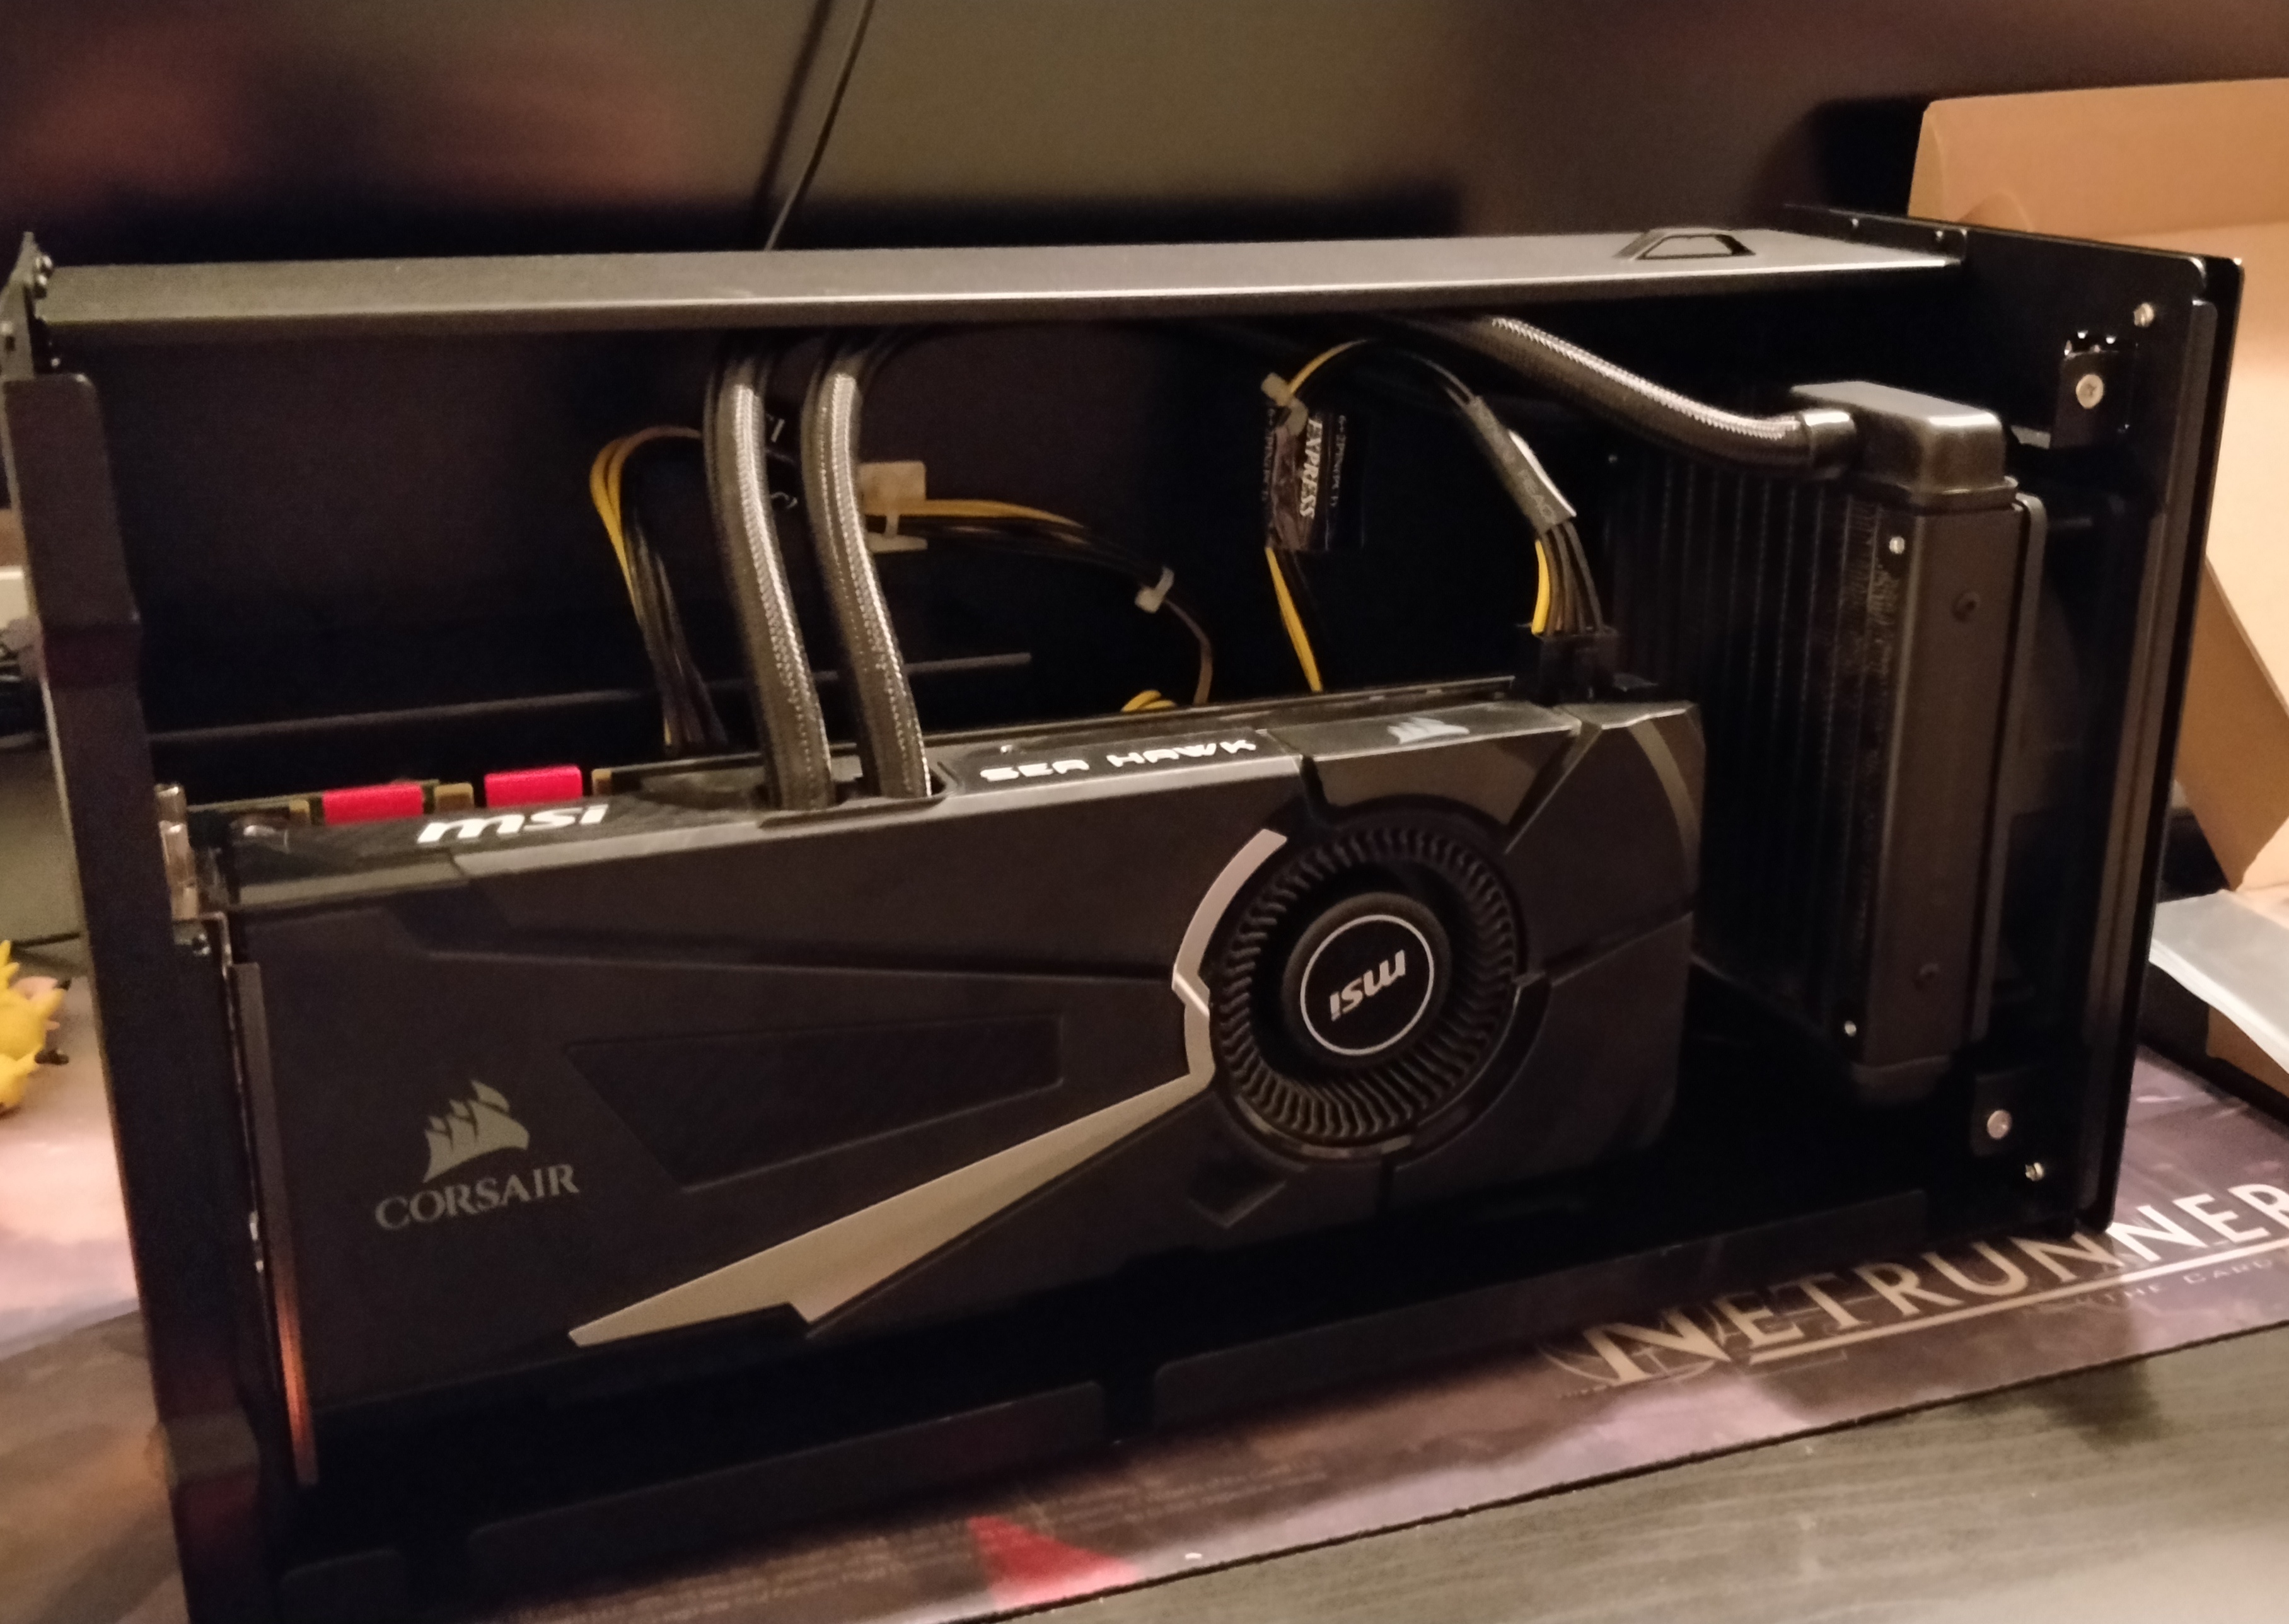
The Node fits my Seahawk with ease - I had to mount the radiator on the existing fan, but no major complaints. The smoothest part of the process!
Now for the software.
In the BIOS, we want to set Thunderbolt to “User Authenticate”.
Then, to authorize, we can just run:
echo 1 > /sys/bus/thunderbolt/devices/0-1/authorized
It’s less secure, but I set up a udev rule in /etc/udev/rules.d/99-local.rules to reduce friction:
ACTION=="add", SUBSYSTEM=="thunderbolt", ATTR{authorized}=="0", ATTR{authorized}="1"
Hey, look at that!
lspci

08:00.0 VGA compatible controller: NVIDIA Corporation GP104 [GeForce GTX 1080] (rev a1)
08:00.1 Audio device: NVIDIA Corporation GP104 High Definition Audio Controller (rev a1)
Docking
From my previous desktop setup, I have an ASUS ROG 21:9 GSync 100Hz monitor, and a 1080p 60Hz Dell that sits vertically.
I want docking to be painless, limited to one command or toggle. I knew going in I wasn’t going to get hotplug, but that’s ok.
There exist solutions!
optimus-manager, bumblebee, gswitch…
Well, there do exist solutions, but not all of them do everything I want. This thing already has a dGPU (that I still want to use, mind!), and it’s gonna have an eGPU plugged in too sometimes.
- optimus-manager is made for switching GPUs on optimus laptops (dual Nvidia/Indel GPUs). I tested it out and it actually works pretty great, but (pretty explicitly) doesn’t provide a solution for eGPU switching.
- bumblebee is another potential solution, but as explained in the optimus-manager readme, it’s very suboptimal since it needs to use the CPU to copy frames to the display.
- A user on egpu.io made gswitch, which essentially just links Xorg configs when you want to dock.
I can’t use any of these as-is, since I need at least 3 Xorg configs and a handful of other options when I switch profiles.
Time to roll my own!
gpuswitch
gpuswitch is my solution to the 3-GPU problem. It’s part callable script, part systemd service, taking heavy inspiration
from optimus-manager and gswitch. It feels extremely house-of-cards right now, so I won’t be posting full source,
but if I ever improve it to the point where I can get it to read in a sane way I will be!
It’s got some KDE/SDDM-specific stuff, but should be adaptable for other setups. Since gpuswitch handles Xorg configuring,
it’s necesssary to disable KScreen!
.gpuswitch
├── gpuswitch.service
├── profiles
│   ├── egpu-gaming
│   │   ├── profile.sh
│   │   └── xorg.conf
│   ├── egpu-multihead
│   │   ├── profile.sh
│   │   └── xorg.conf
│   ├── intel
│   │   ├── profile.sh
│   │   └── xorg.conf
│   └── nvidia
│       ├── profile.sh
│       └── xorg.conf
├── switch.log
└── switch.sh
Essentially, it’s a few parts:
switch.shis the master script, which is run on boot and can be called manually via a bash alias. It loads profiles, other folders which have an xorg config and their ownprofile.sh. You call it viasudo switch.sh <profile>. It currently has hardcoded logic for checking the state of the machine on boot - if the eGPU is detected, it’ll load anegpuprofile, if not, it’ll loadintel.
if lspci | grep -q "GP104"; then # check if the GTX 1080 is plugged in
    echo "eGPU detected, setting profile 'egpu-multihead'"
    profile="egpu-multihead"
else
    echo "no eGPU detected, setting profile 'intel'"
    profile="intel"
It also clears Xsetup, since profiles might make changes to it:
sed -i '/^#/!d' /usr/share/sddm/scripts/Xsetup
Then it spawns the profile loading script and exits. The $boot argument is set and used only when started via systemd (see below).
/bin/bash ${profile_path}${profile}/profile.sh $boot >> $log_path 2>&1 &
- The xorg configs are self-explanatory, see my
intel/xorg.conffor an example:
Section "Module"
  Load "modesetting"
EndSection

Section "Device"
  Identifier "Intel"
  Driver     "intel"
  BusID      "00:02:0"
  Option     "DRI" "3"
EndSection
- The
profile.shscript takes cues fromoptimus-managerwith how it loads kernel modules and copies configs. Here’s my currentintel/profile.sh:
# required for all profiles
if pidof Xorg; then
    echo "X is alive, killing..."
    systemctl stop display-manager
fi

echo "switching kernel modules"
systemctl stop systemd-logind # because logind holds onto nvidia_drm
modprobe -r nvidia_drm nvidia_modeset nvidia_uvm nvidia # unload nvidia kernel modules
systemctl start systemd-logind # restart systemd-logind
modprobe nouveau modeset=0 # disable the onboard GPU by loading nouveau and modesetting 0

echo "loading xorg config"
rm /etc/X11/xorg.conf # remove current xorg config
ln -s /home/gabe/.gabe/gpuswitch/profiles/intel/xorg.conf /etc/X11/xorg.conf # link new xorg config

echo "enabling compositing on KDE startup"
kwriteconfig5 --file=/home/gabe/.config/kwinrc --group "Compositing" --key "Enabled" true

# because we're using Intel, we need to set xrandr to use it, but the only way we can do that is by having sddm call it after X has started.
# note that switch.sh cleans this up for us, but might not be the best place for that logic.
echo "setting up Xsetup"
echo "xrandr --auto" >> /usr/share/sddm/scripts/Xsetup

# required for all profiles
# if being called on boot then we shouldn't restart the display manager since it'll be started later
if ! [ "$1" = "boot" ]; then
    echo "not called on boot, starting DM"
    systemctl start display-manager
fi

echo "done"
exit 0
Other profiles can do things like:
echo 0 > /sys/class/backlight/intel_backlight/brightness # turn off the backlight for the laptop display when docked
or
echo "nvidia-settings -l --config=/home/gabe/.nvidia-settings-rc" >> /usr/share/sddm/scripts/Xsetup # load nvidia settings when using an nvidia gpu
and
cpupower frequency-set -g performance # for gaming setup
Finally, to start on boot, I created gpuswitch.service:
[Unit]
Description=GPU Switcher Service
Before=display-manager.service

[Service]
Type=oneshot
ExecStart=/home/gabe/.gabe/gpuswitch/switch.sh onboot
TimeoutSec=10s

[Install]
WantedBy=multi-user.target
The result? I can switch profiles anytime I want and it works pretty seamlessly, I just have to remember to run the command first.
This also lets me use G-Sync - I created a single-head eGPU profile and G-Sync works with just the one monitor! The only downside is the need to restart X.
Results & Takeaways!
For reading all of the above, you get my obligatory neofetch output and my battlestation!
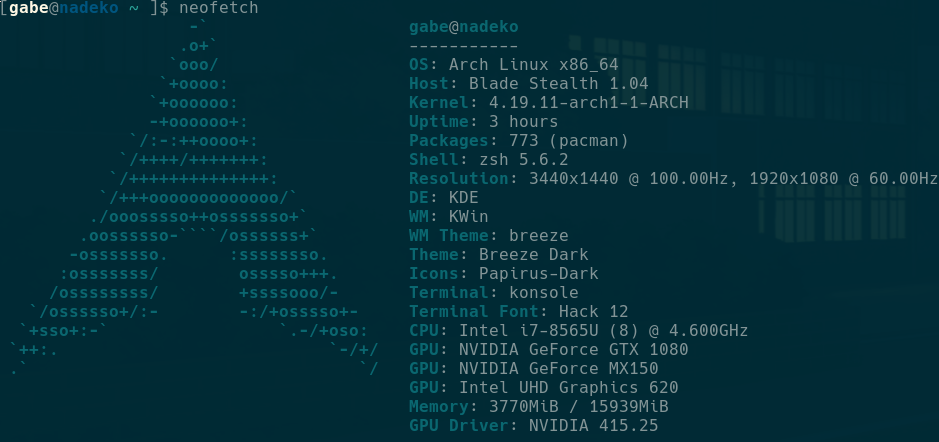
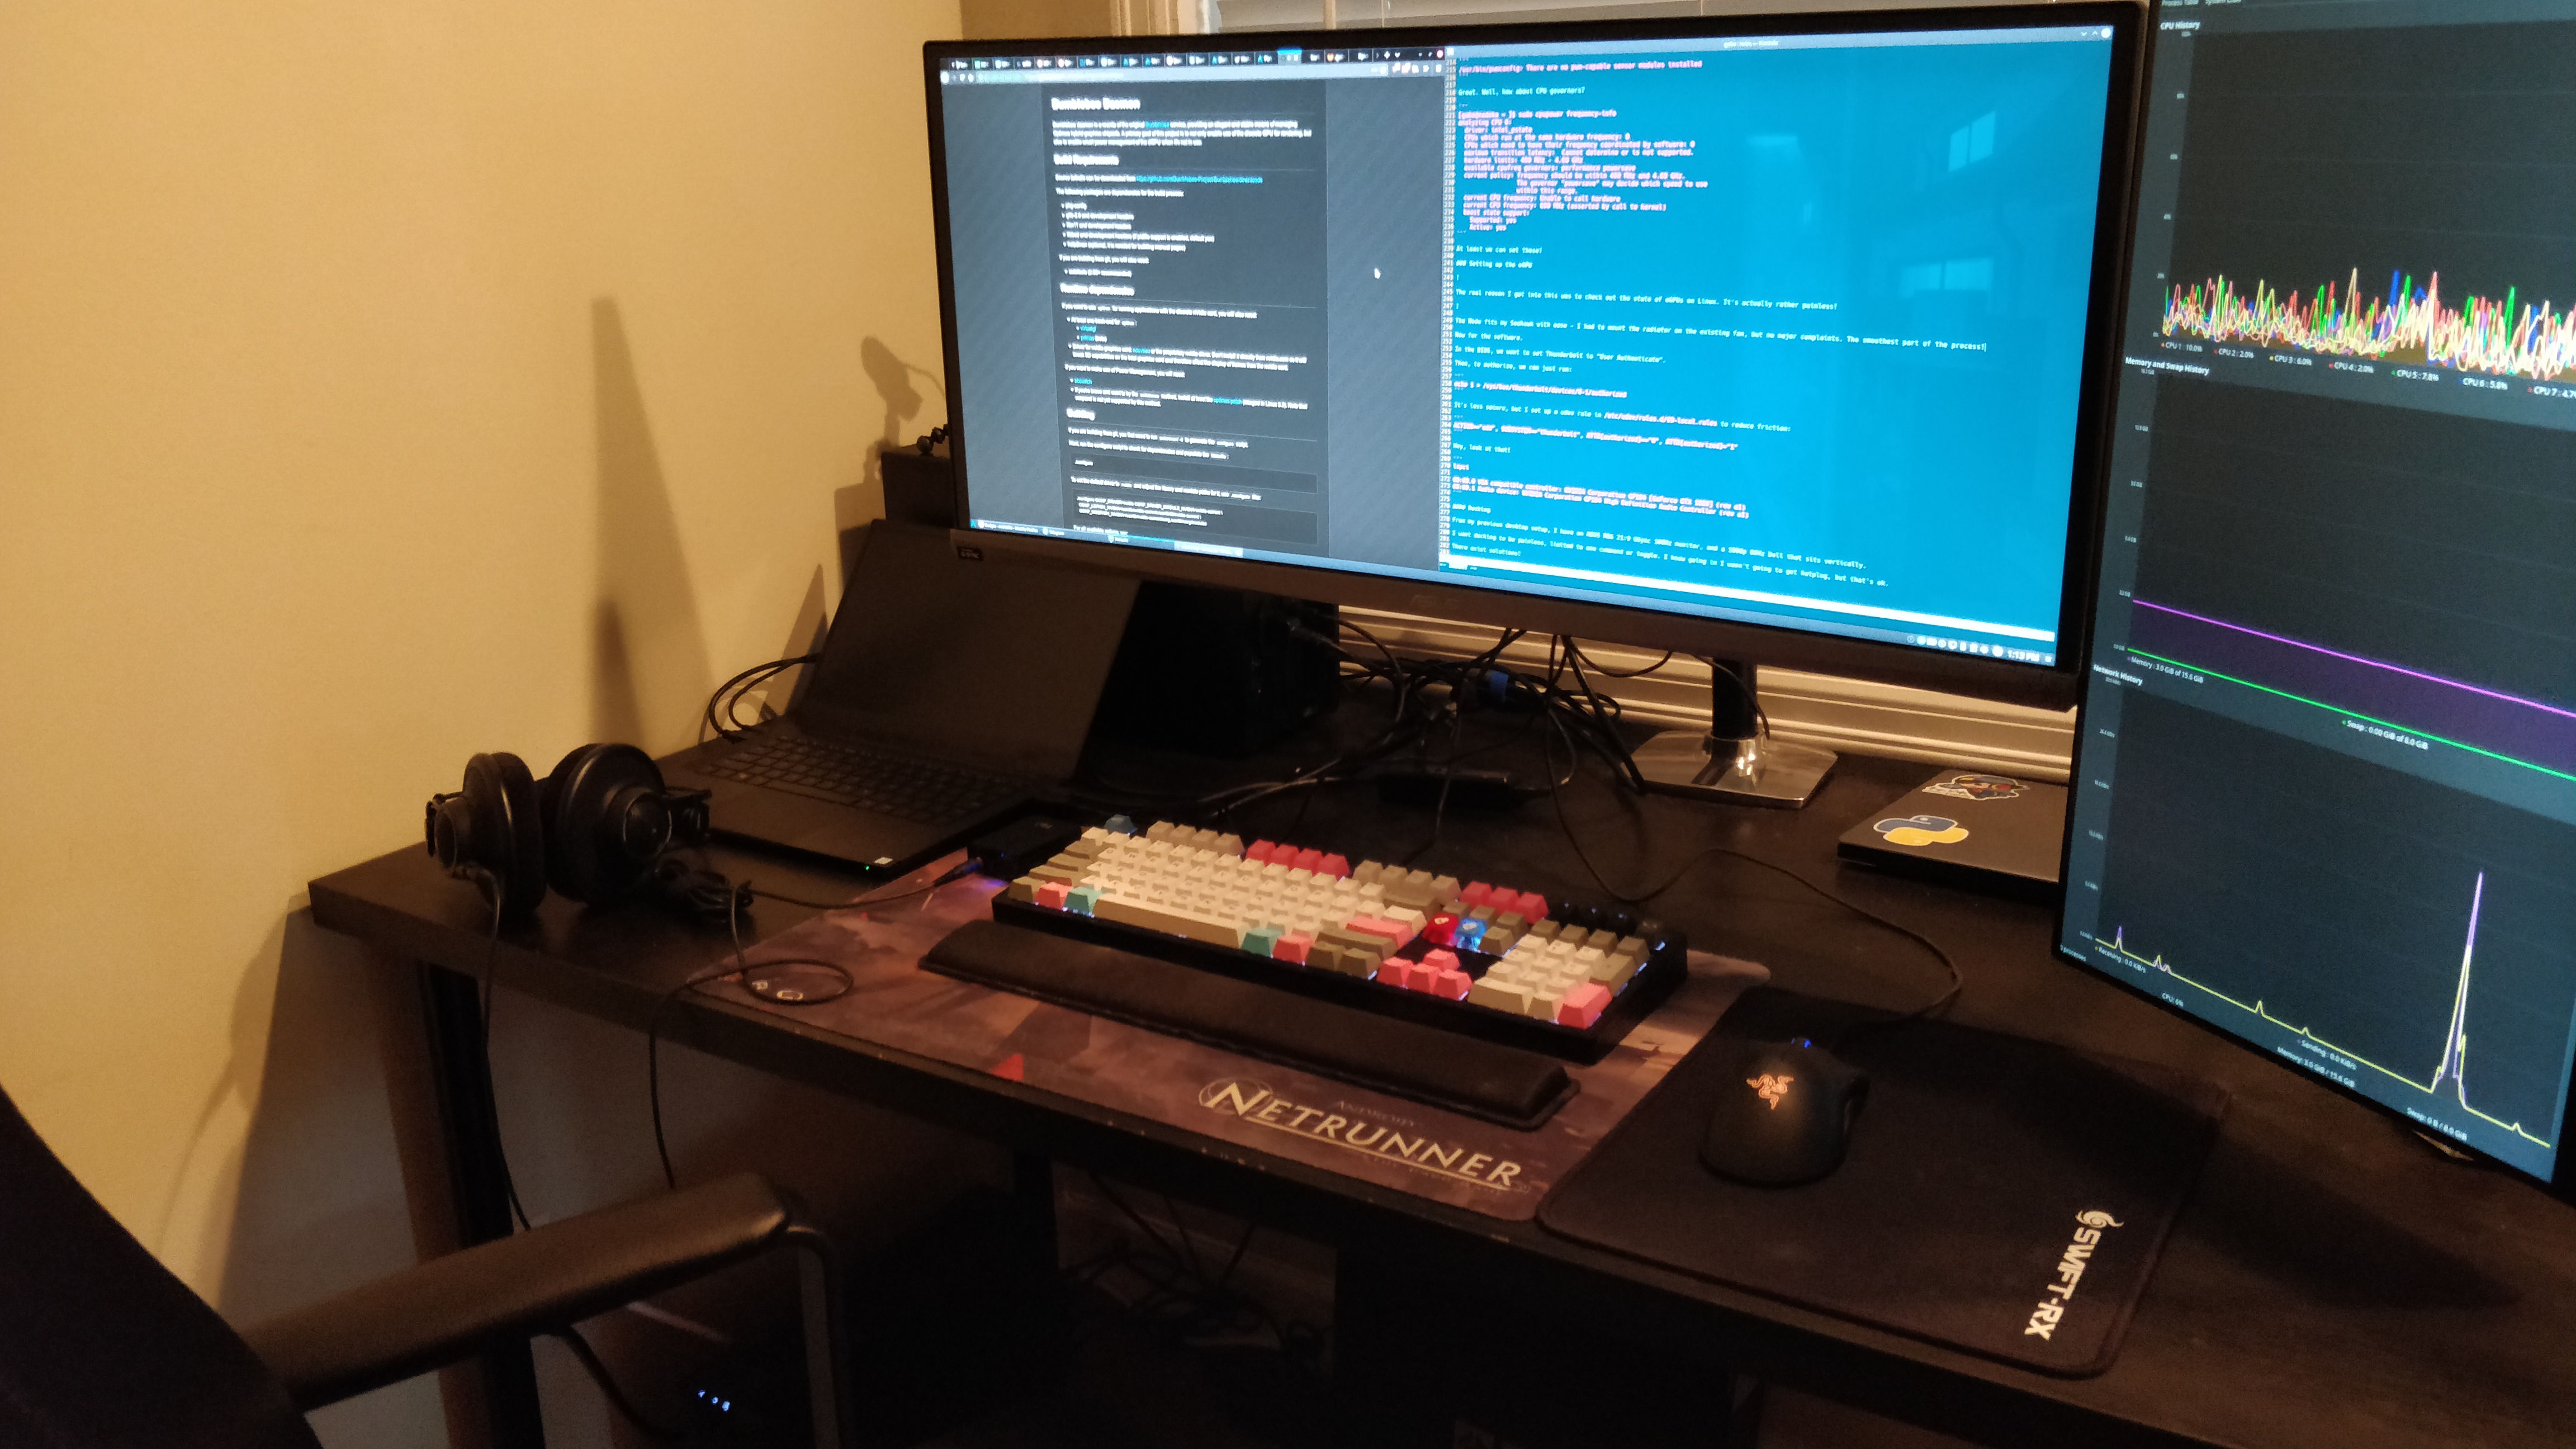
(I know, I need to cable manage better)
So was it worth it? It was definitely a learning experience and a half getting everything set up, but I’m now extremely confident in Linux as a daily driver with Valve’s work on Steam Play and of course DXVK.
Pros
-
This setup is really satisfying when it works. My goal of having one Linux install that I take with me wherever I go has definitely been achieved. The docking/undocking experience is alright given that I can’t just use one cable.
-
Games run great. Doom (2016) on Ultra sticks at a solid 80~90 FPS and will G-Sync nicely in my eGPU “gaming” profile. Distance runs natively and can shoot well over 100 FPS. Artifact also runs natively like a champ (it doesn’t play too bad on the MX150 either).
-
I get to use my existing monitors with this setup, saving me a good chunk of change and letting me justify buying this ridiculous 21:9 G-Sync beast.
-
I am completely free from Windows and my entire system is under my discretion.
-
The Blade Stealth 2019 is a really nice laptop overall. It’s just that it makes the few sore points really sore when you hit them.
Cons & Known Issues
-
KDE’s OpenGL compositor refuses to run at 100Hz when both monitors are connected, even when forced to in the config. I think this has to do with the fact that it uses the lowest common denominator for a framerate. By tweaking some desktop effects, I think I can live with dragging windows around at 60Hz for now.
-
KDE is still stuttery, and I can’t tell why. I’ve disabled the animation that plays when you drag a window to the edge, which improved things, but it seems like whenever something gets drawn over top of an existing window (like a notification or dropdown box) I get some microstutter.
-
The Blade’s loose USB-C ports are definitely an issue for me, though not a showstopper - I ended up just using traditional USB 3 hubs. Of course, this means that I didn’t achieve one of my goals, which is to have a “one cable” setup. Perhaps in the future there will be a eGPU dock that fits my needs, or I’ll upgrade my 1080.
-
There’s a good amount of noise in this setup, though my previous setup was entirely watercooled so I could just not be used to it. The Blade does appear to have some crackling/whine on the fans at some speeds.
-
NotebookCheck reported that the Blade will drain battery even when plugged in, and it’s definitely happened to me in eGPU mode, though I’m not sure why. The
nvidiamodule is loaded and can see the MX150, and says it’s not doing much of anything, so the laptop shouldn’t be sucking more than 65W (what Razer’s power supply provides) if the dGPU’s not engaged. -
Manual fan control appears to be nonexistent, so I am subject to the baked-in curves. They seem to be okay, though.
-
I’ll probably still have to keep my XPS 13 9350 around for Traktor, but I think I prefer having a dedicated machine for that anyway
Total Cost
- Razer Blade Stealth 2019 (MX150 + 1080p Matte variant) - $1599
- AKiTiO Node eGPU Enclosure - $241.93
- Samsung 970 Pro 1TB NVMe SSD - $377.99
- USB-C Hub: $60
- Freedom - Priceless
Total $: $2278.92
Total Time Spent
- Banging my head against X not running
- Cursing KDE’s default behavior
- Debugging systemd races
- Accidentally turning off the display backlight and having to restart X
- Refactoring my GPU profile switching script
Total Time: … embarassingly long.
Future Plans
- Look into using Kargos to easily switch profiles and CPU governors.
- Try out windows passthrough if I really need native Windows bullshit. Though I’m done mucking around with archaic configs for a while.
- Try and patch openrazer and add support for the 2019 Stealth’s Chroma keyboard.
- Try out
__GL_YIELD="usleep"vsKWIN_TRIPLE_BUFFERin an attempt to fix KDE’s stutter.
Thanks for reading! If you plan on duplicating this setup at all, I suggest first reading NotebookCheck’s Review of the Stealth 2019 to see if you can live with the downsides.